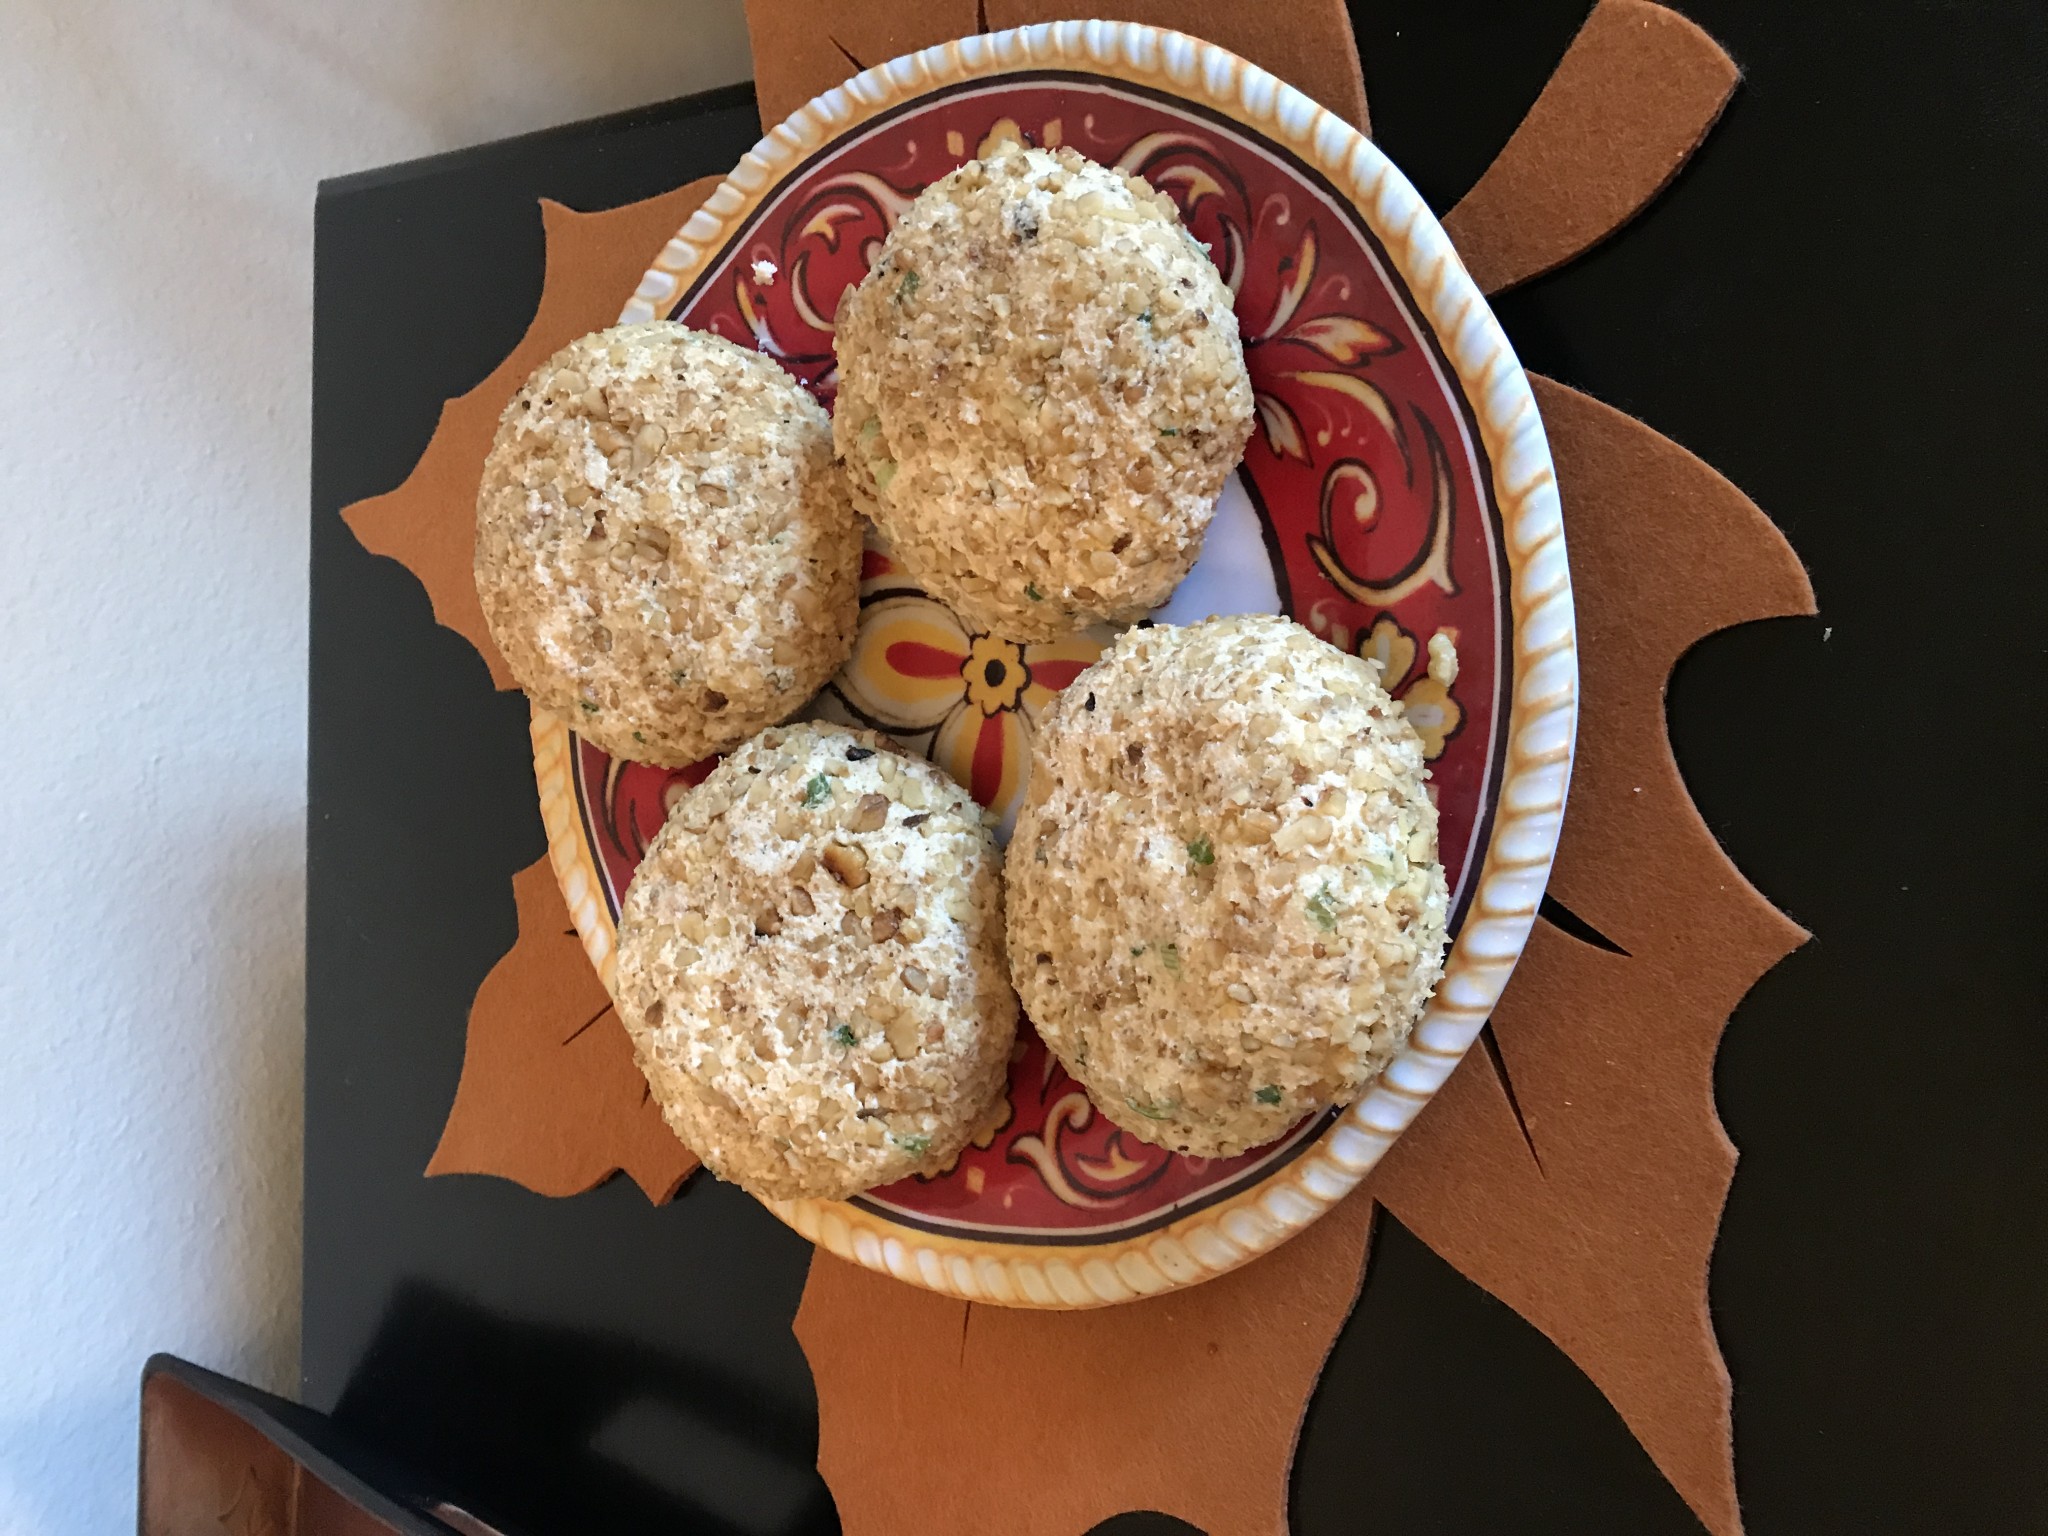
25 years ago I was spending Thanksgiving with my good friends and as I looked in the refrigerator, I saw what I thought were all the makings for a cheeseball. I'd never made one and had no recipe, but I asked if I could give it a try and they said yes. I put it together by intuition, and, fact is, I never really had a recipe. After that year, when I showed up for Thanksgiving, I was greeted at the door with - "Where's the cheeseball???" A tradition was born!
Now you don't expect me to share my secret magic recipe do you??? Sorry! Not giving it out.
HOWEVER...I tried a new recipe today that I WILL share - along with step by step instructions and photos.
In 2012 I was thinking about starting my own gourmet cheeseball business. With my Thanksgiving Cheeseball as the signature product. To flesh out the idea I came up with about a dozen ideas for specialty varieties, including some dessert cheeseballs. The one I liked the best is what I decided to make this year along with the traditional one to take with me down to Mesa where I will spend the day with my son Max and his wife Kimberly, who are visiting her family, Gary and Linda Moore. Dinner is at Grandma Lund's house (whoops! Update! It is at her stake center - too many coming for just her house!) and I had to bring SOMETHING to an already well planned meal, so I decided to keep with tradition and make my cheeseballs...TWO varieties!
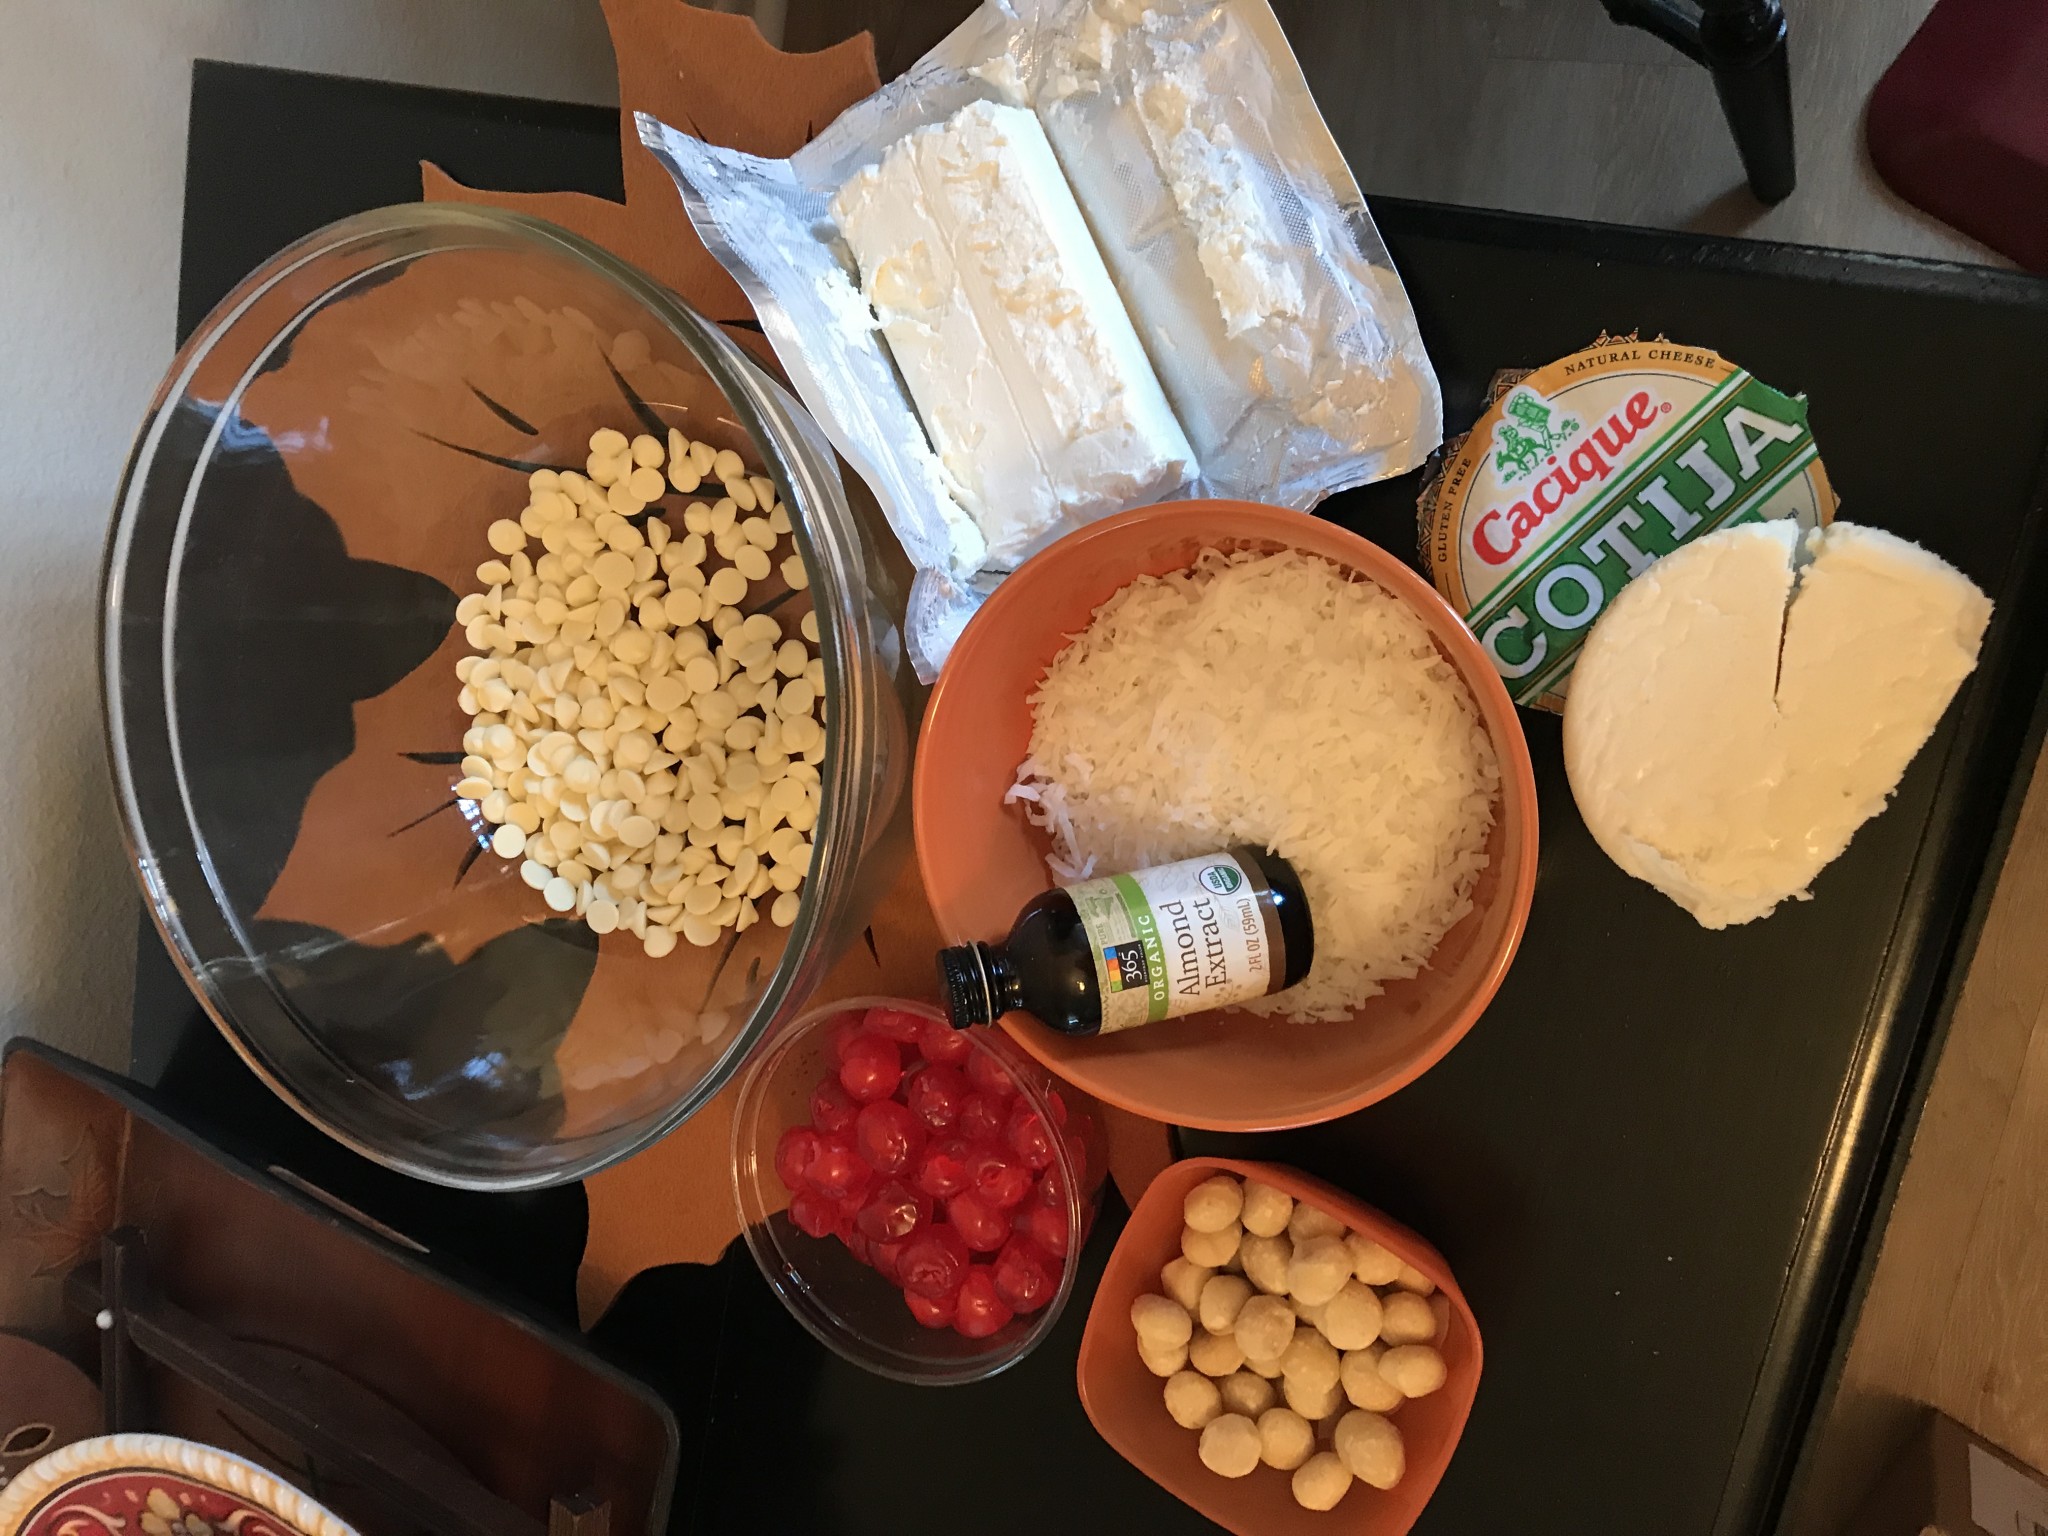
Here are the assembled ingredients. I am using Ghirardelli white chocolate chips - half a bag IN the cheeseball, and half a bag to dip them in at the end.
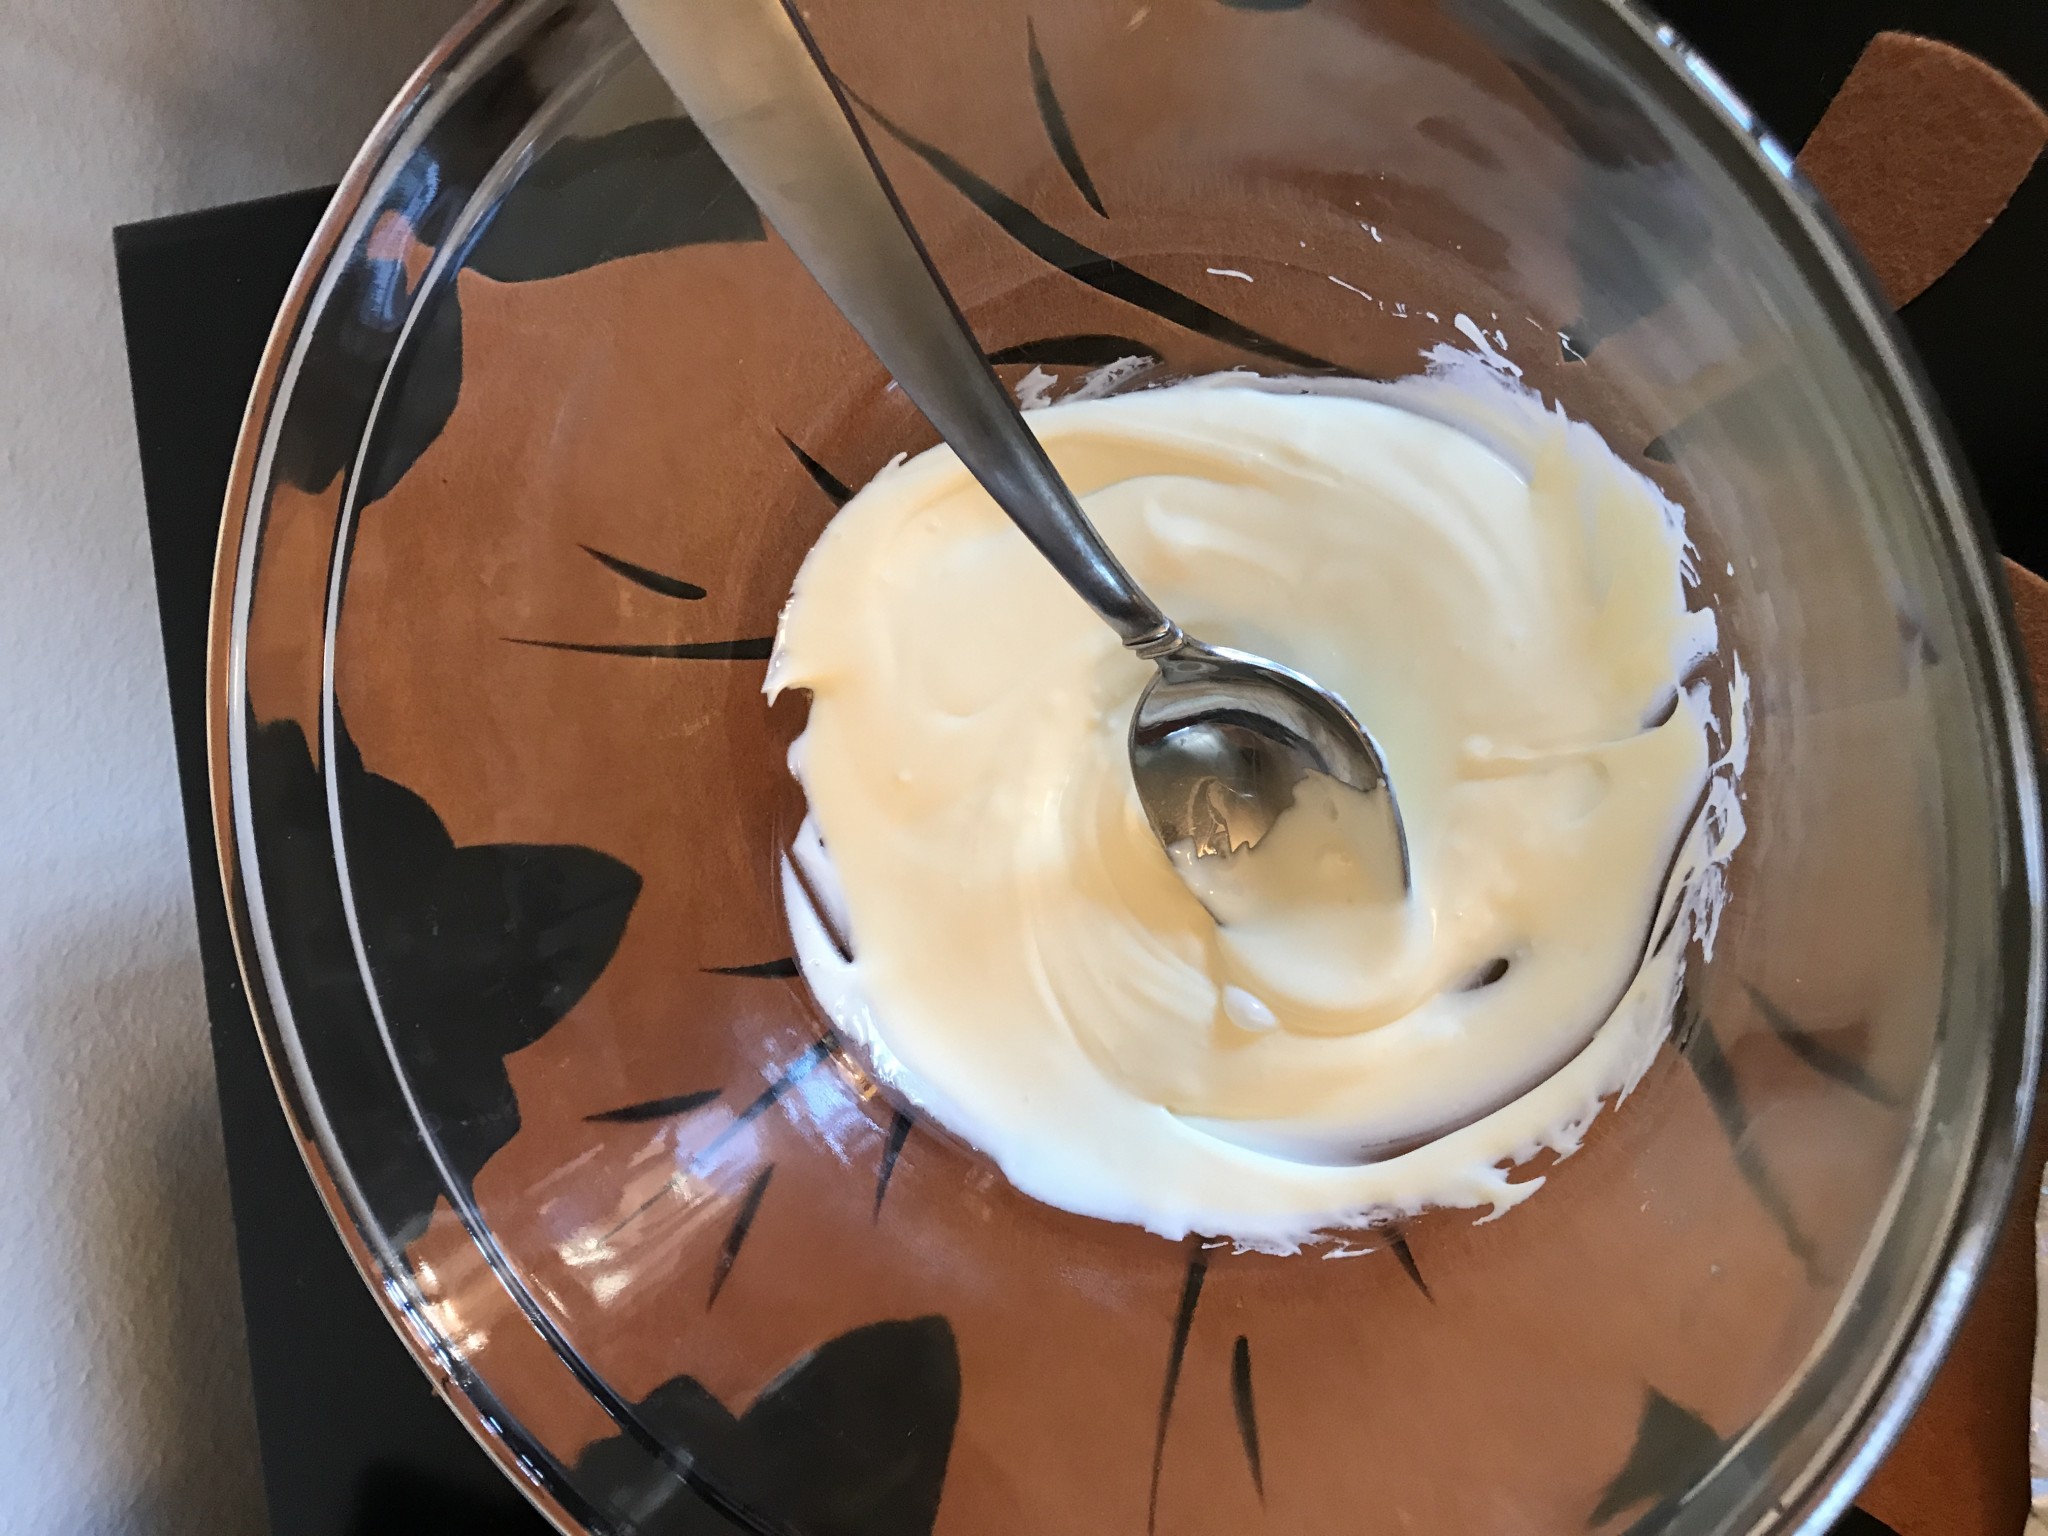
What I learned in 2012, you must start with the soft and wet ingredients first - so I melted the white chocolate chips in the microwave for just under a minute, stirring them to a smooth texture.
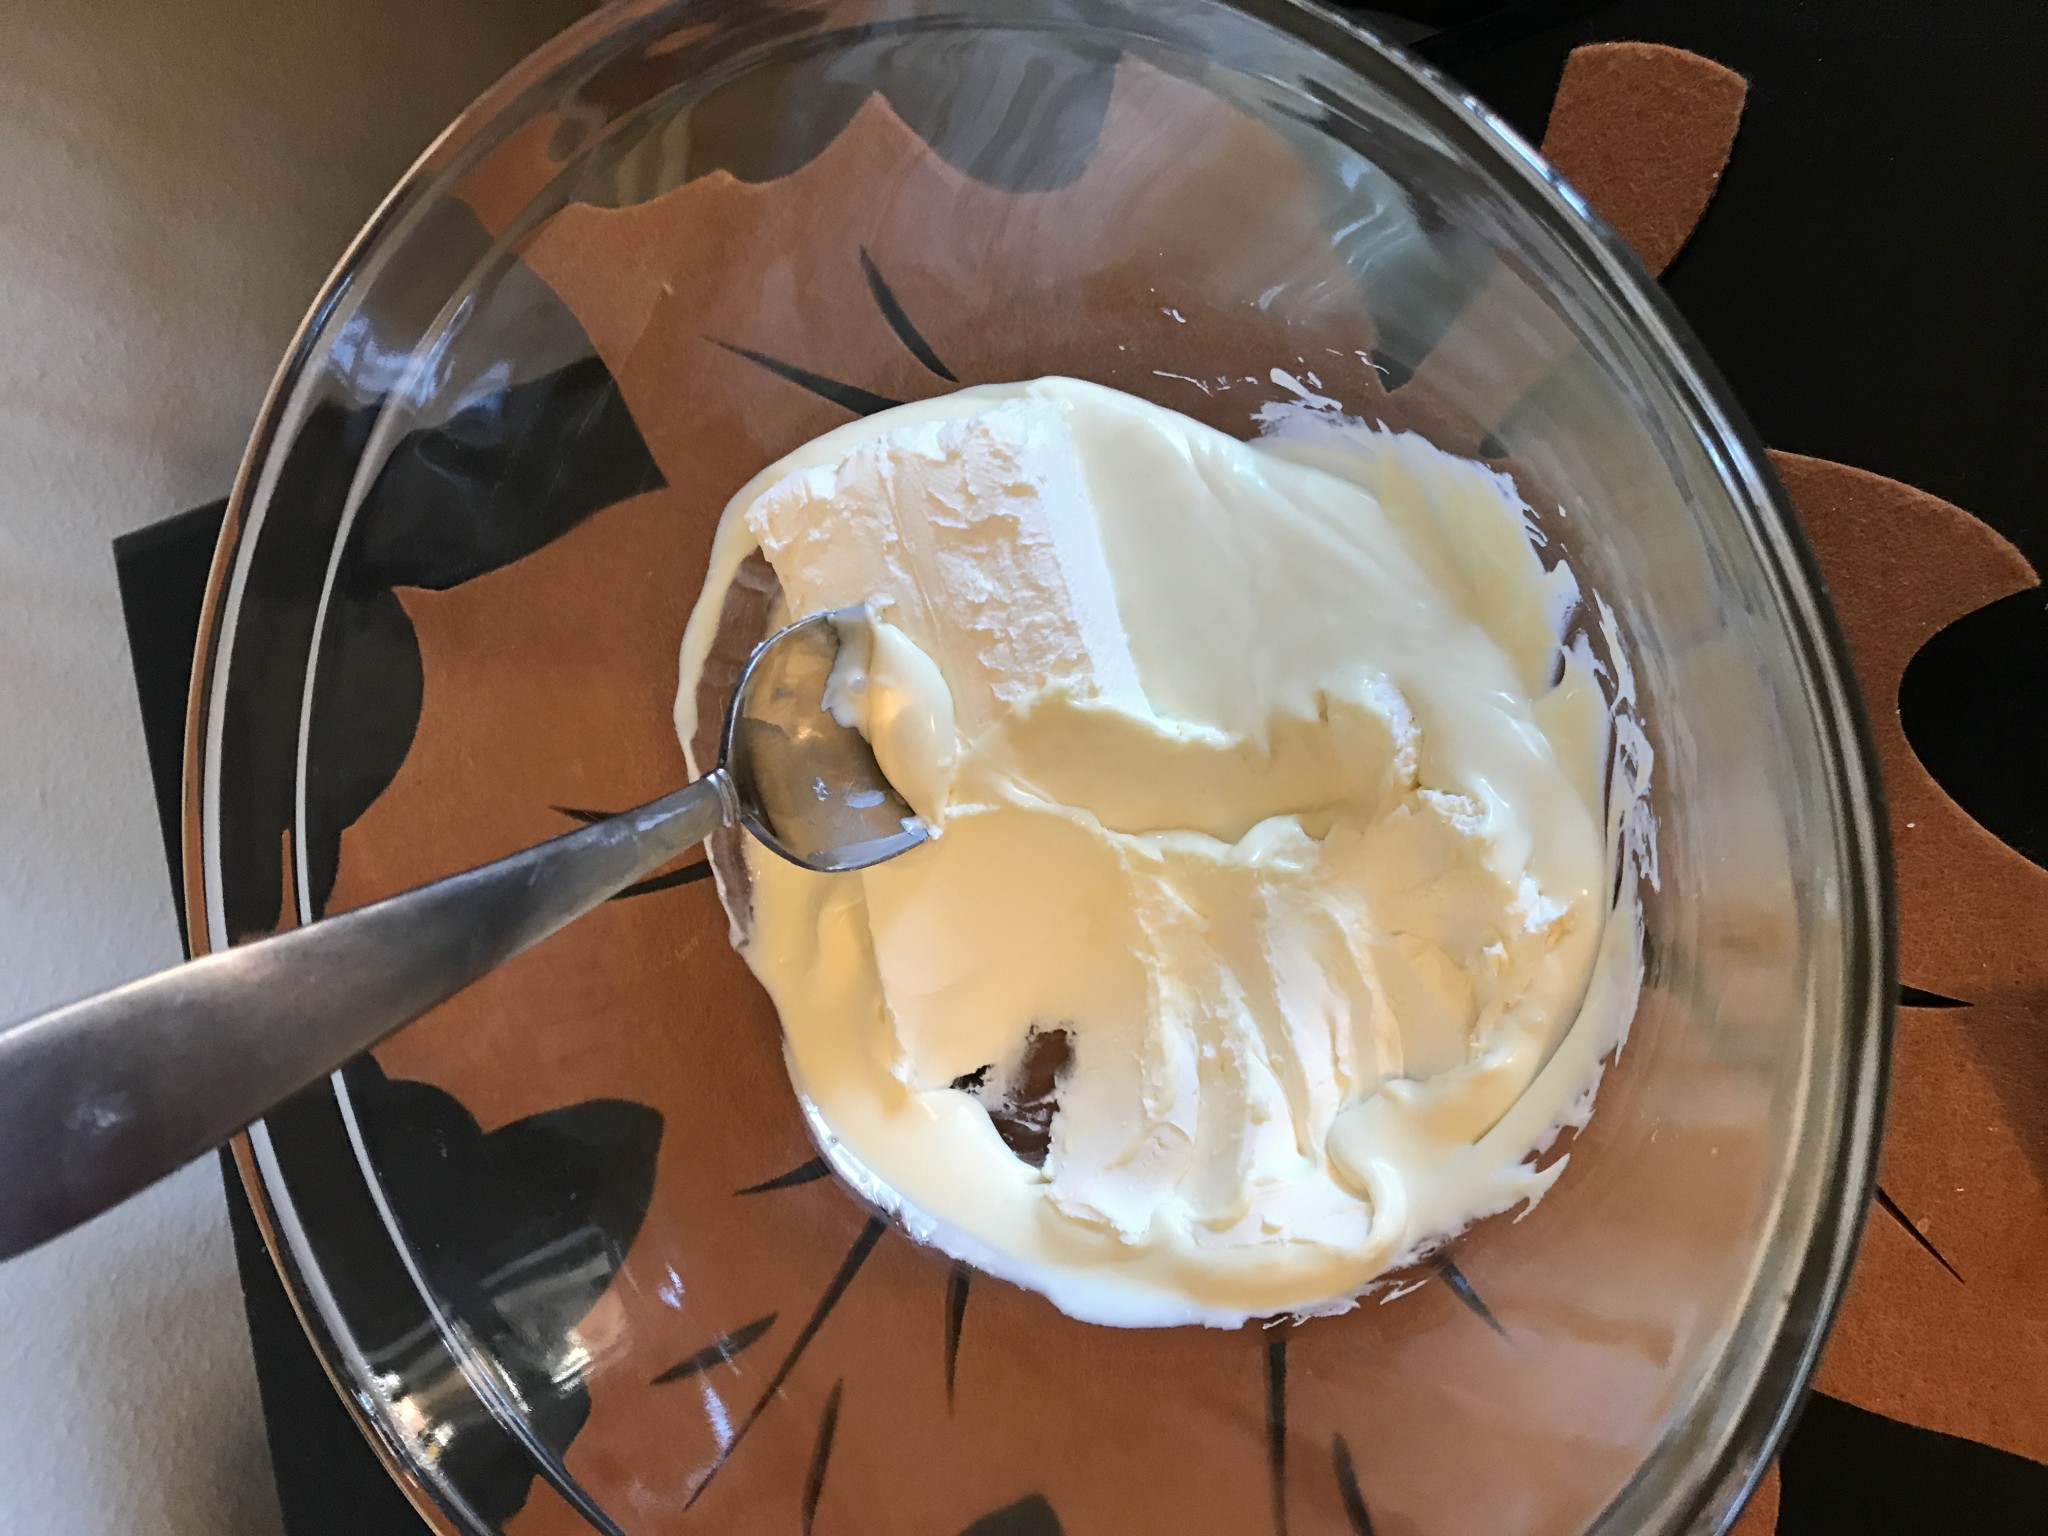
Next I added the softened Philadelphia Cream Cheese, and stirred it in with a spoon till smooth.

This is what it looked like once it was mixed together. OH! This is also when I mixed in the Almond Extract, about half a capful.
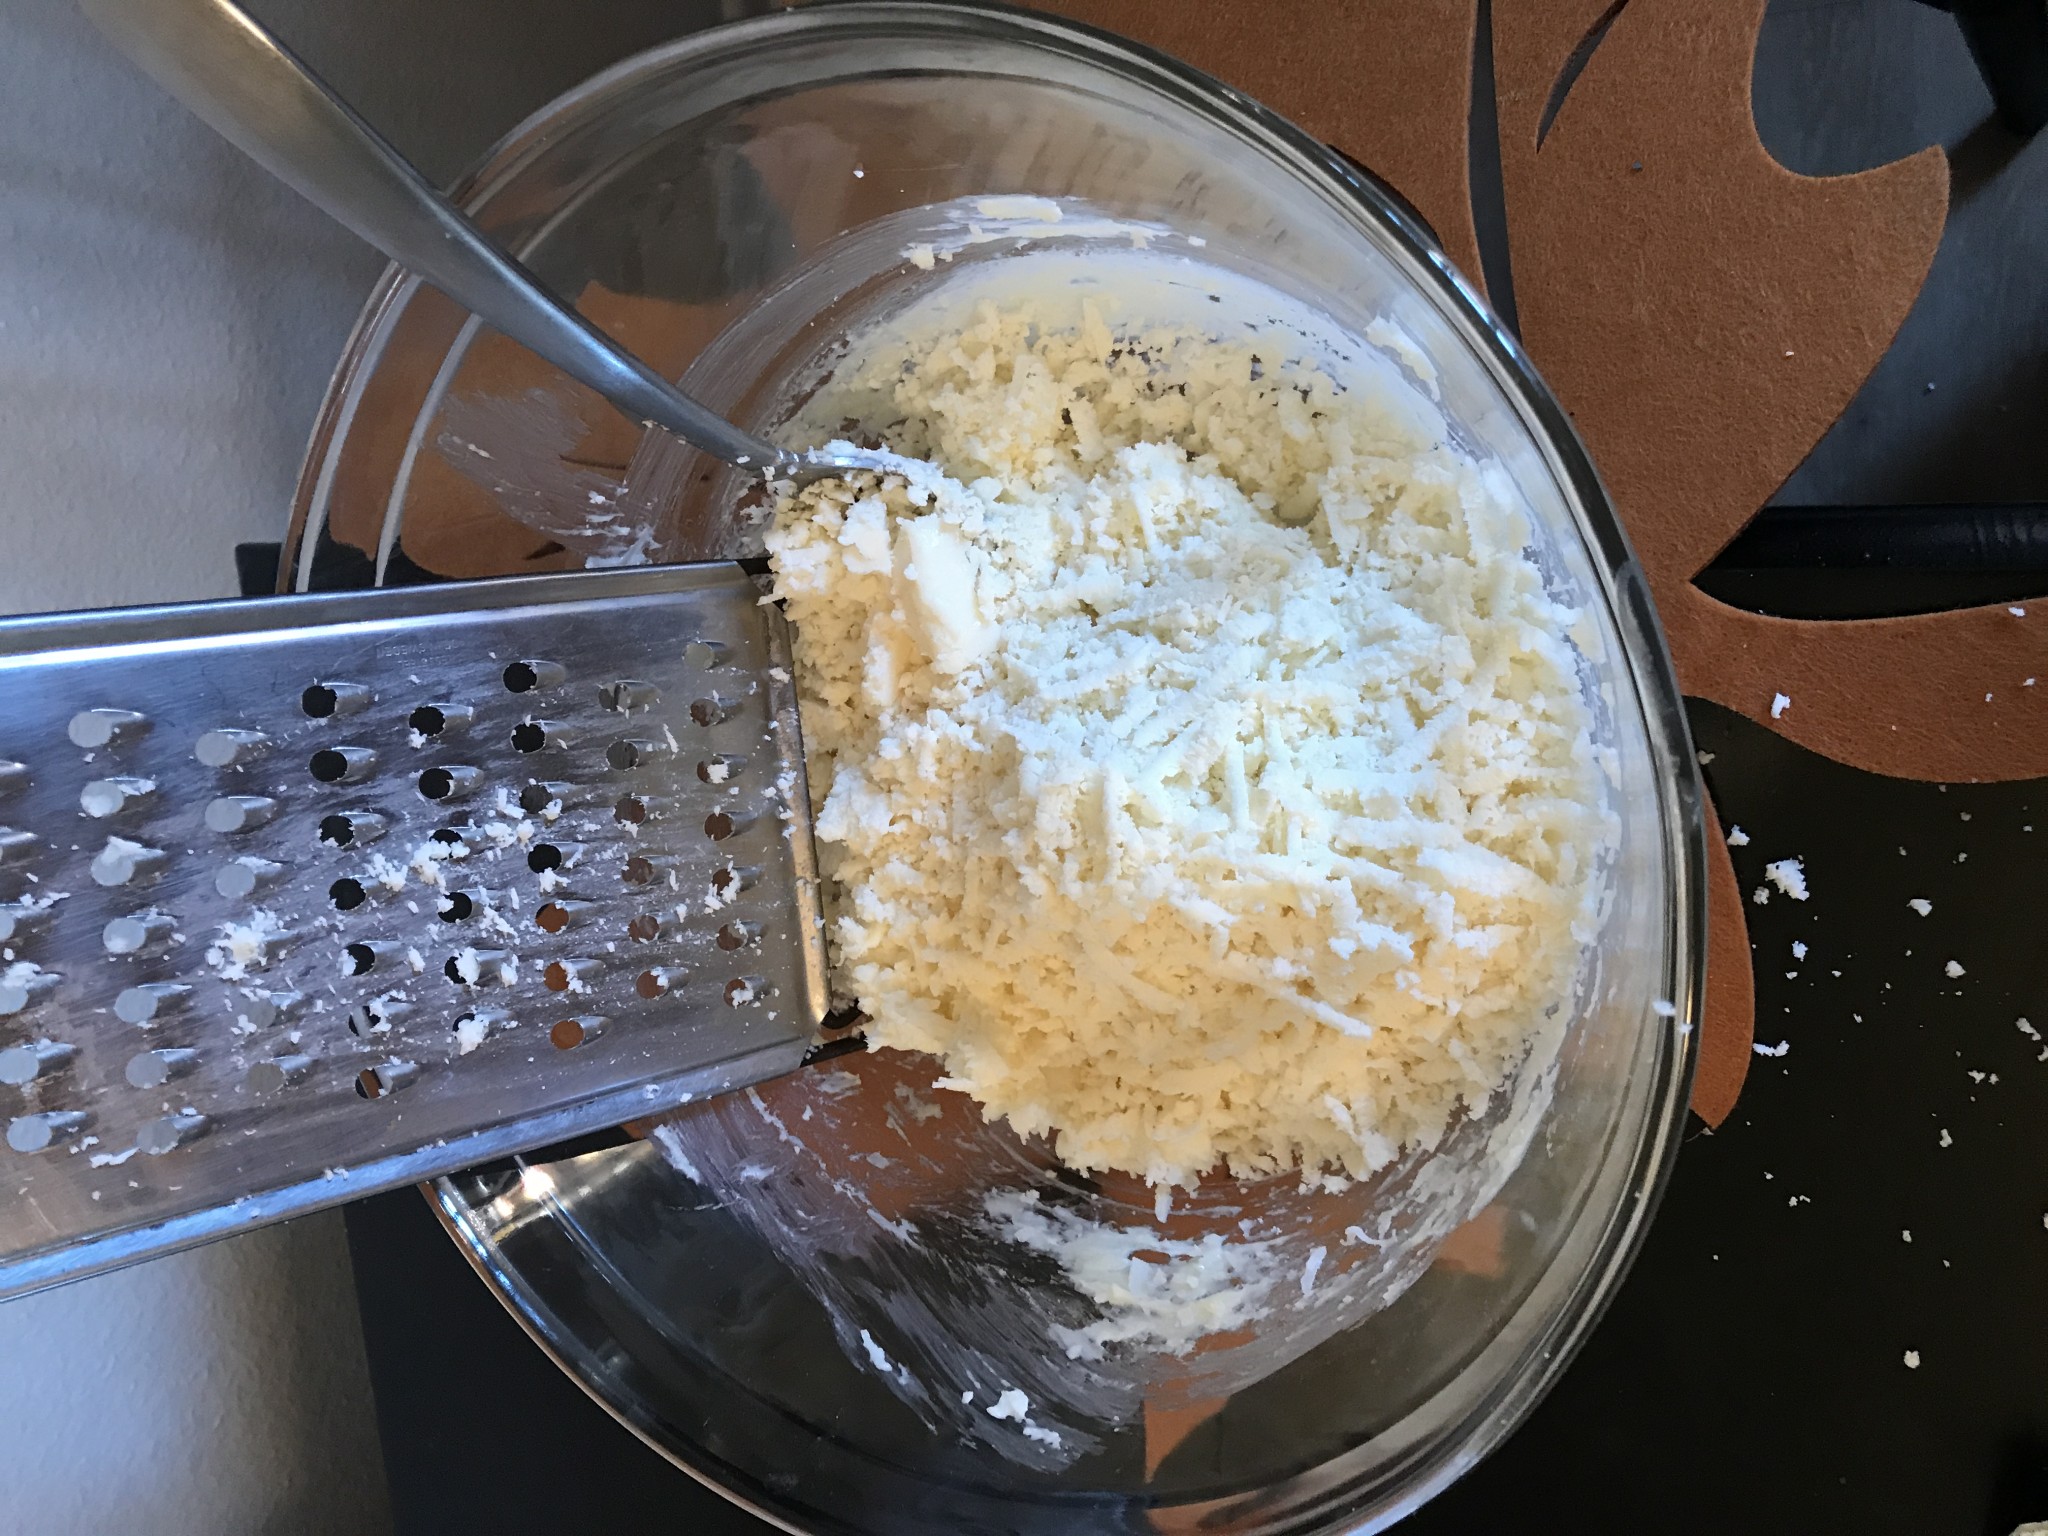
Next I took the Mexican Cotija Cheese, I'd say about 8 oz, and grated it onto the mixture. I think this picture also shows the added sweetened shredded coconut I added, about 1/2 cup. It's hard to tell, all the ingredients are white! DO NOT MIX YET. This is the SNOW in the Snow White.
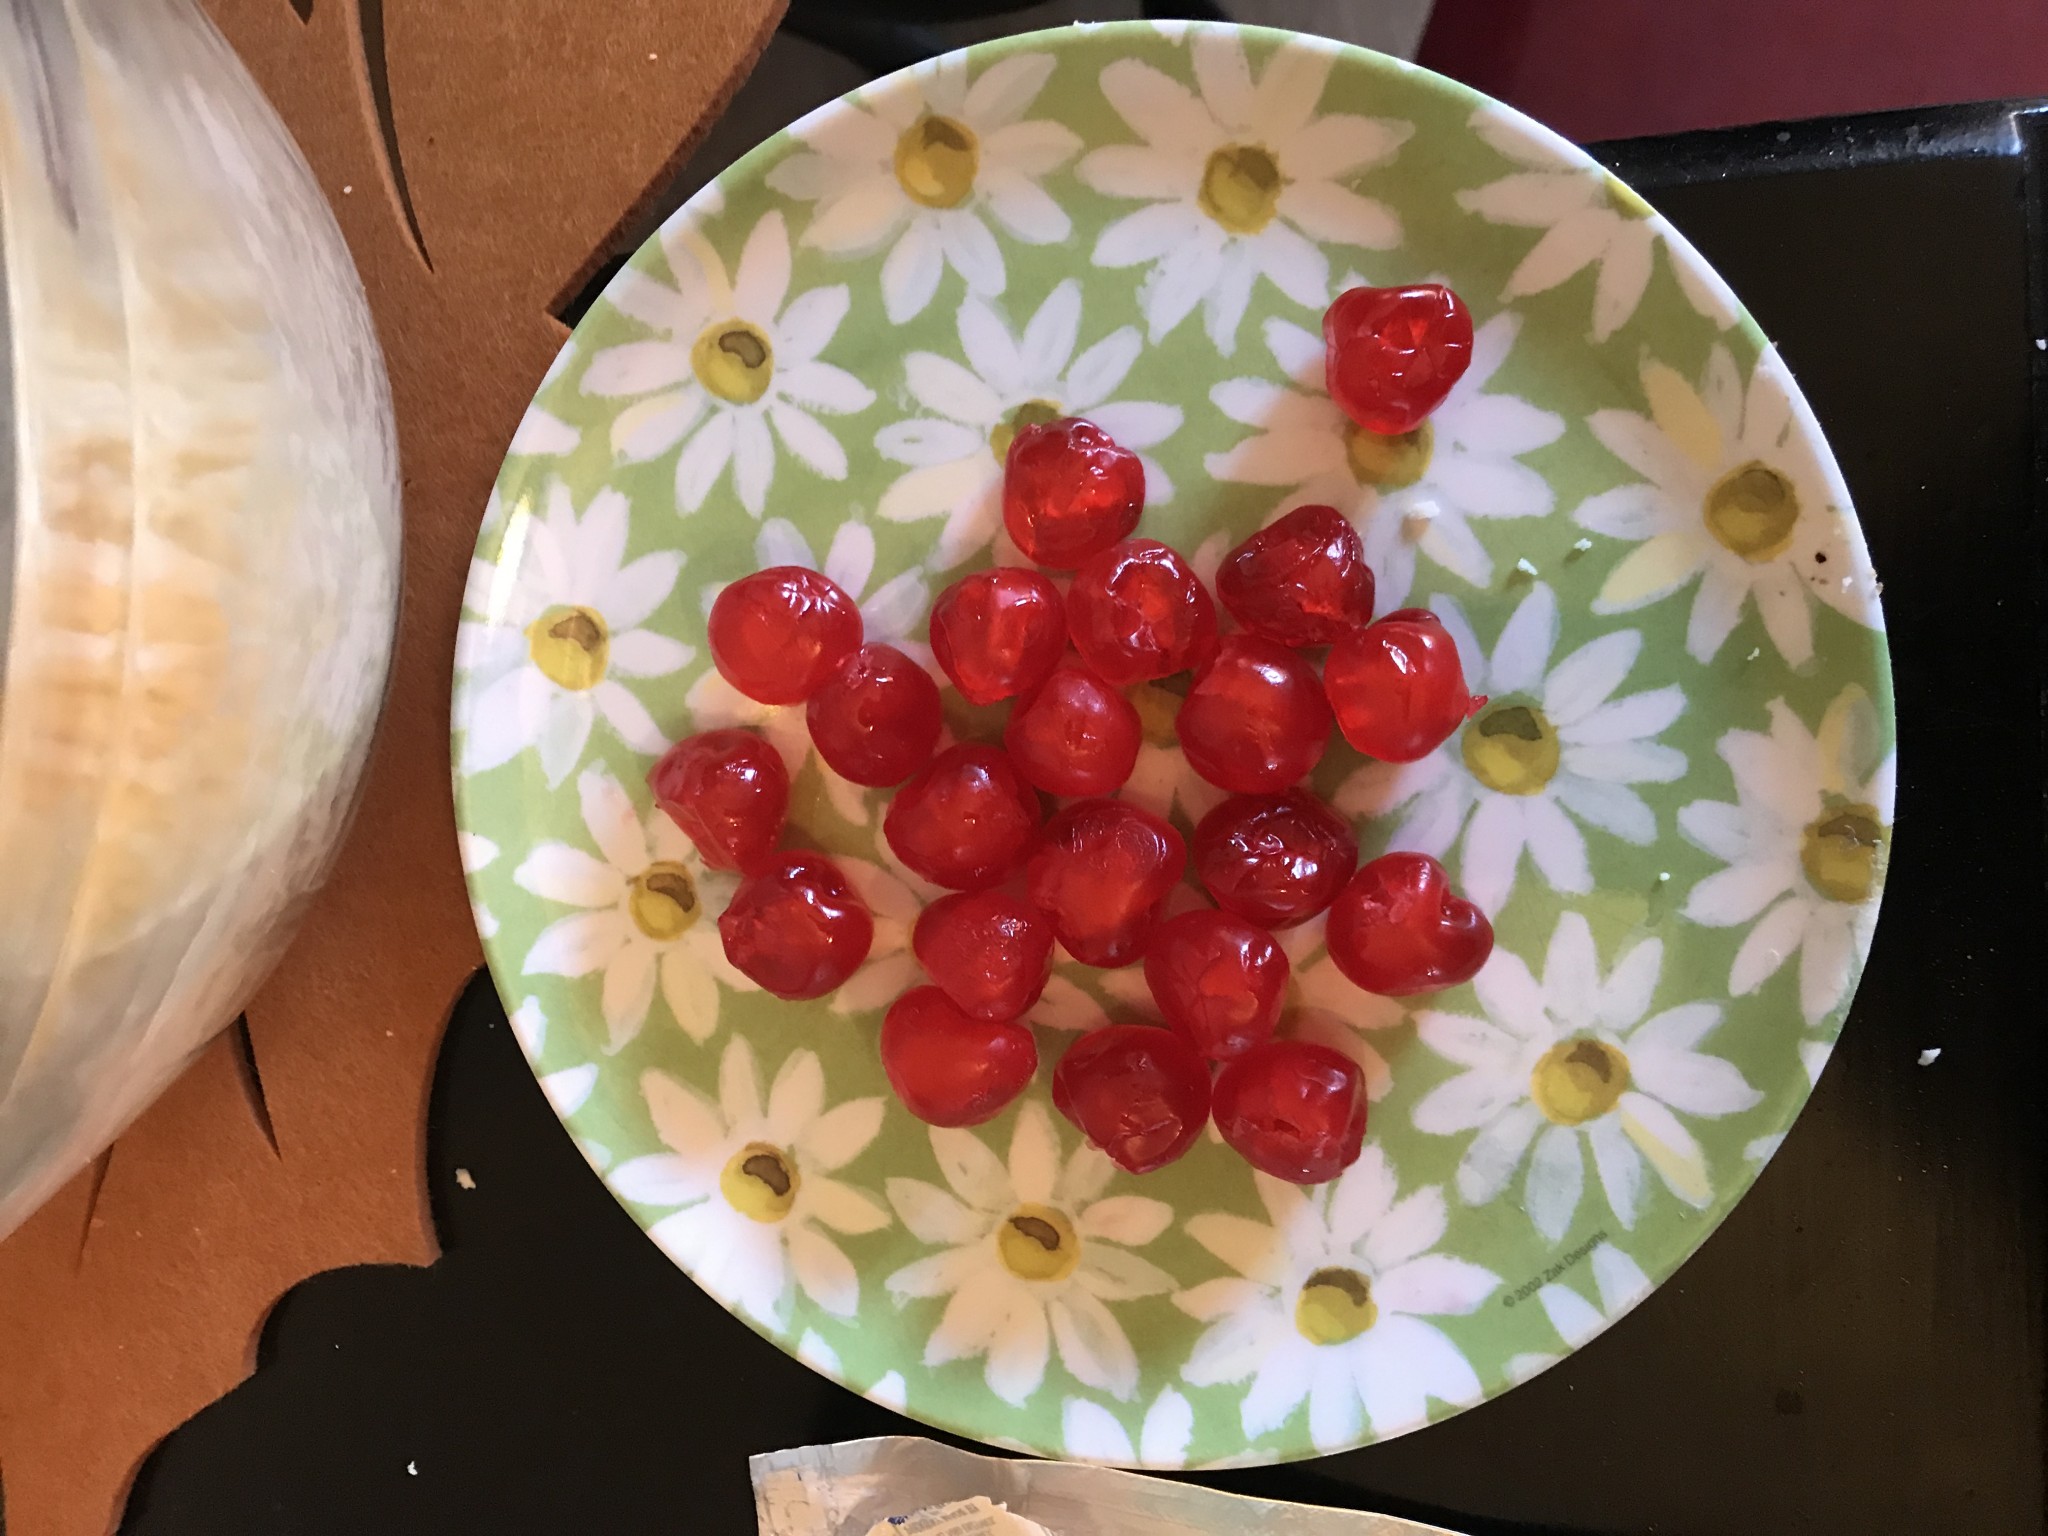
I used about half a small container of candied red cherries. These were hard to find. They ended up being in a special holiday display with ingredients for baking - they are only available during the holidays as an ingredient for fruit cake.
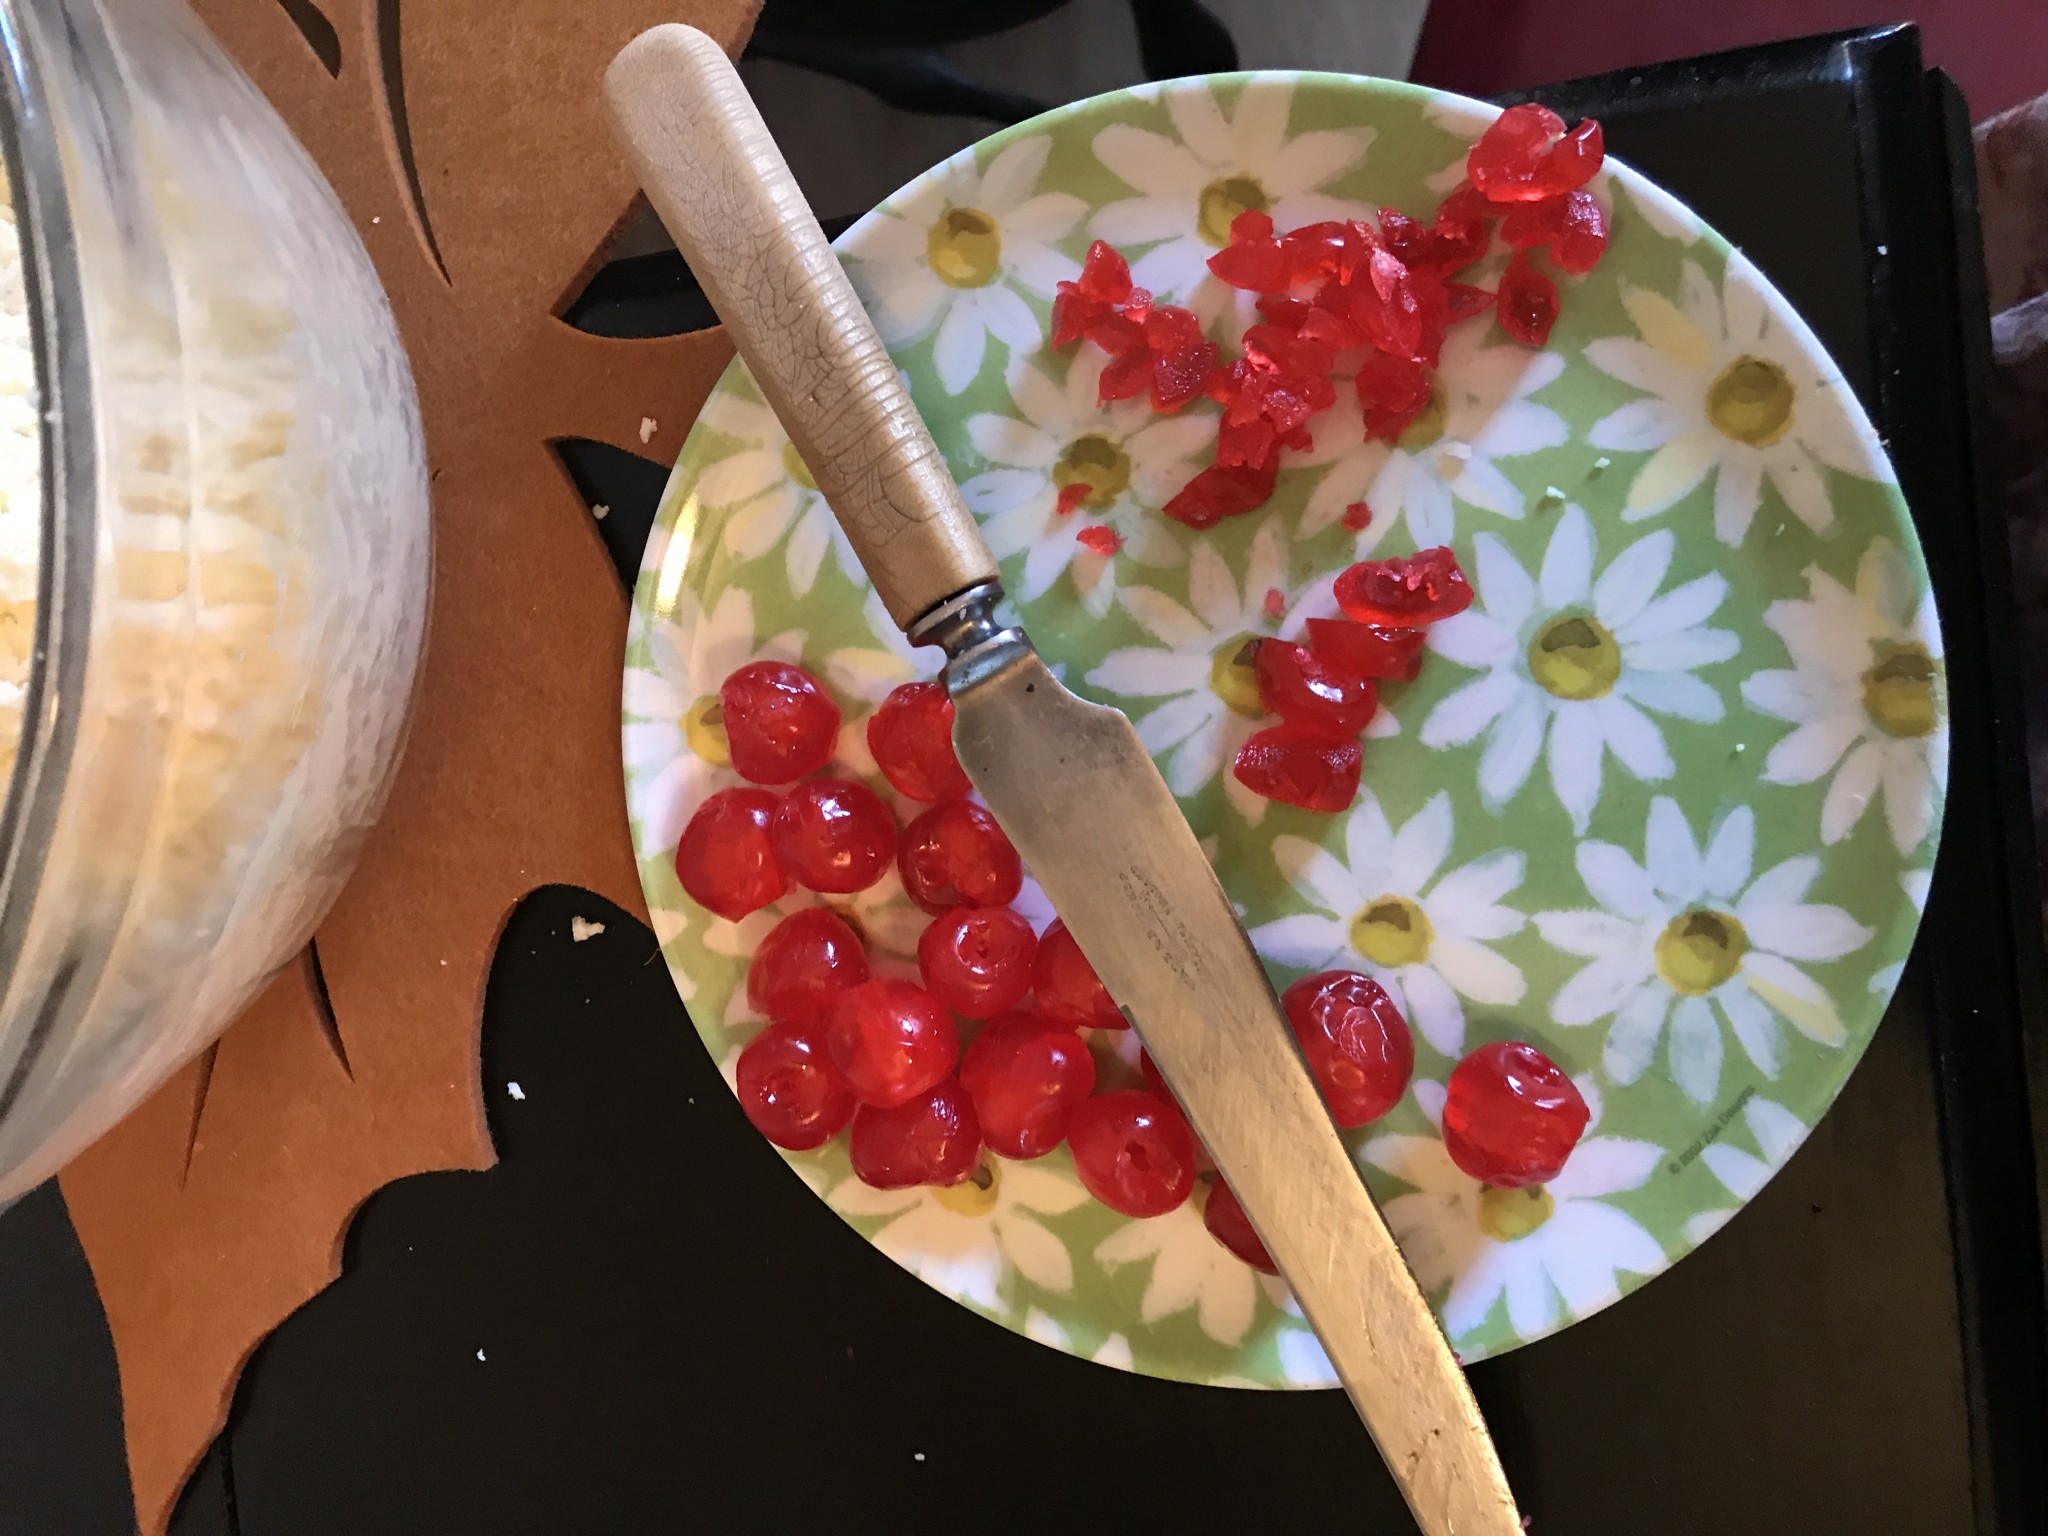
They are SOOOOOO sticky, I found the only way to do it was to cut each cherry into fourths and then turn that and cut into thirds
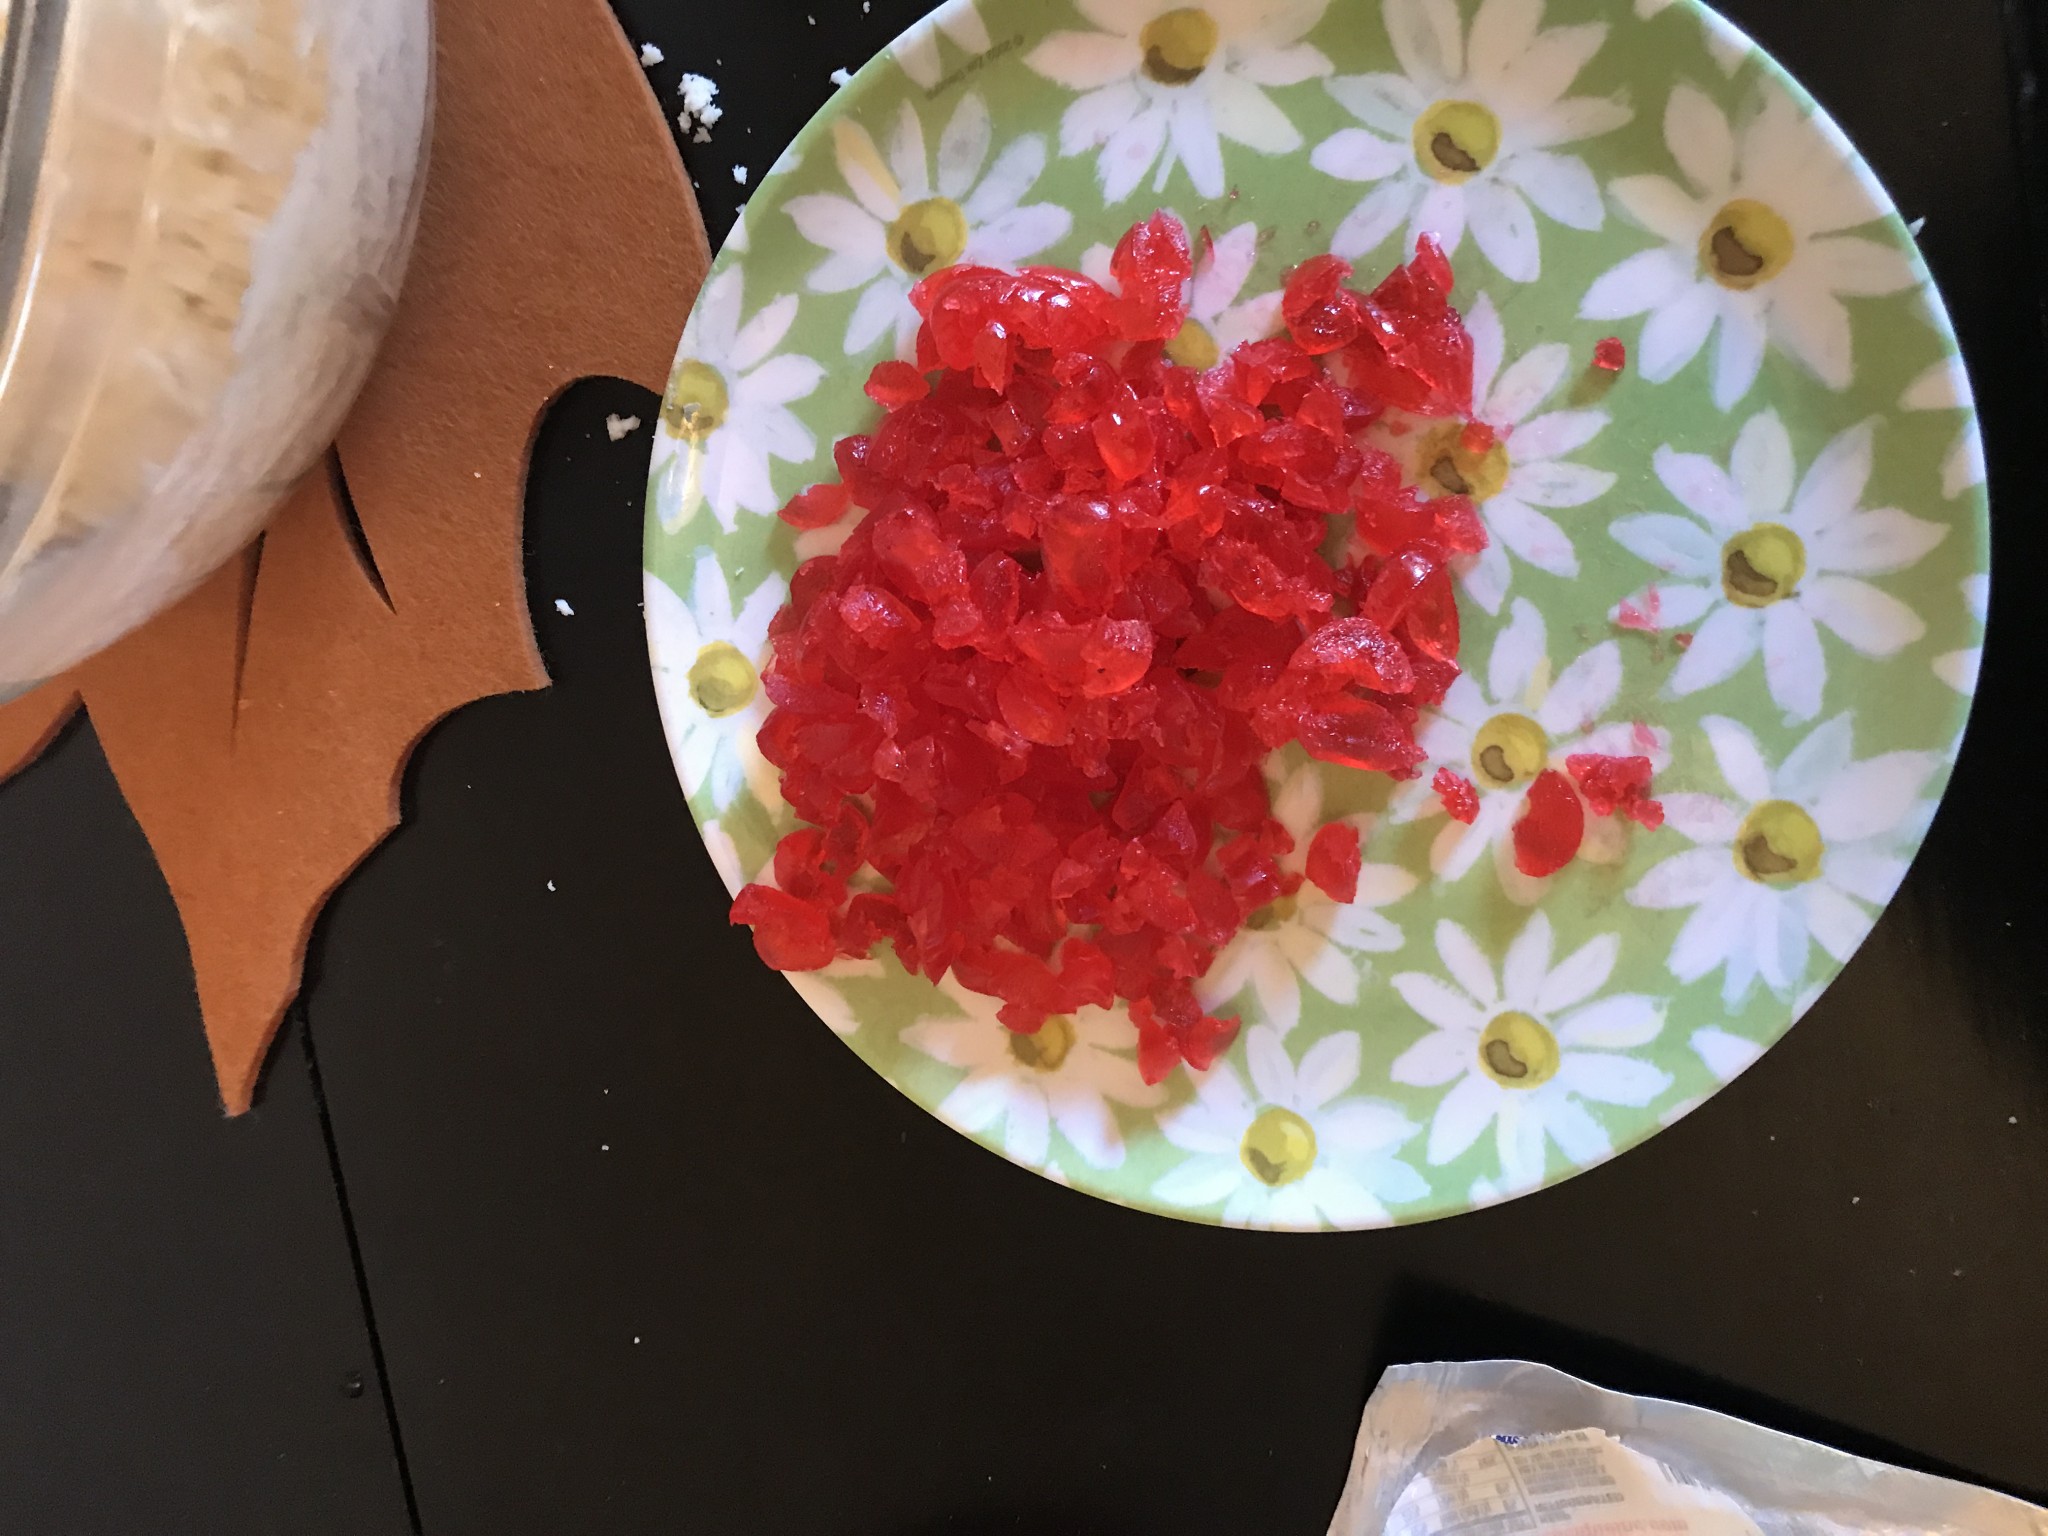
Here they are all chopped.
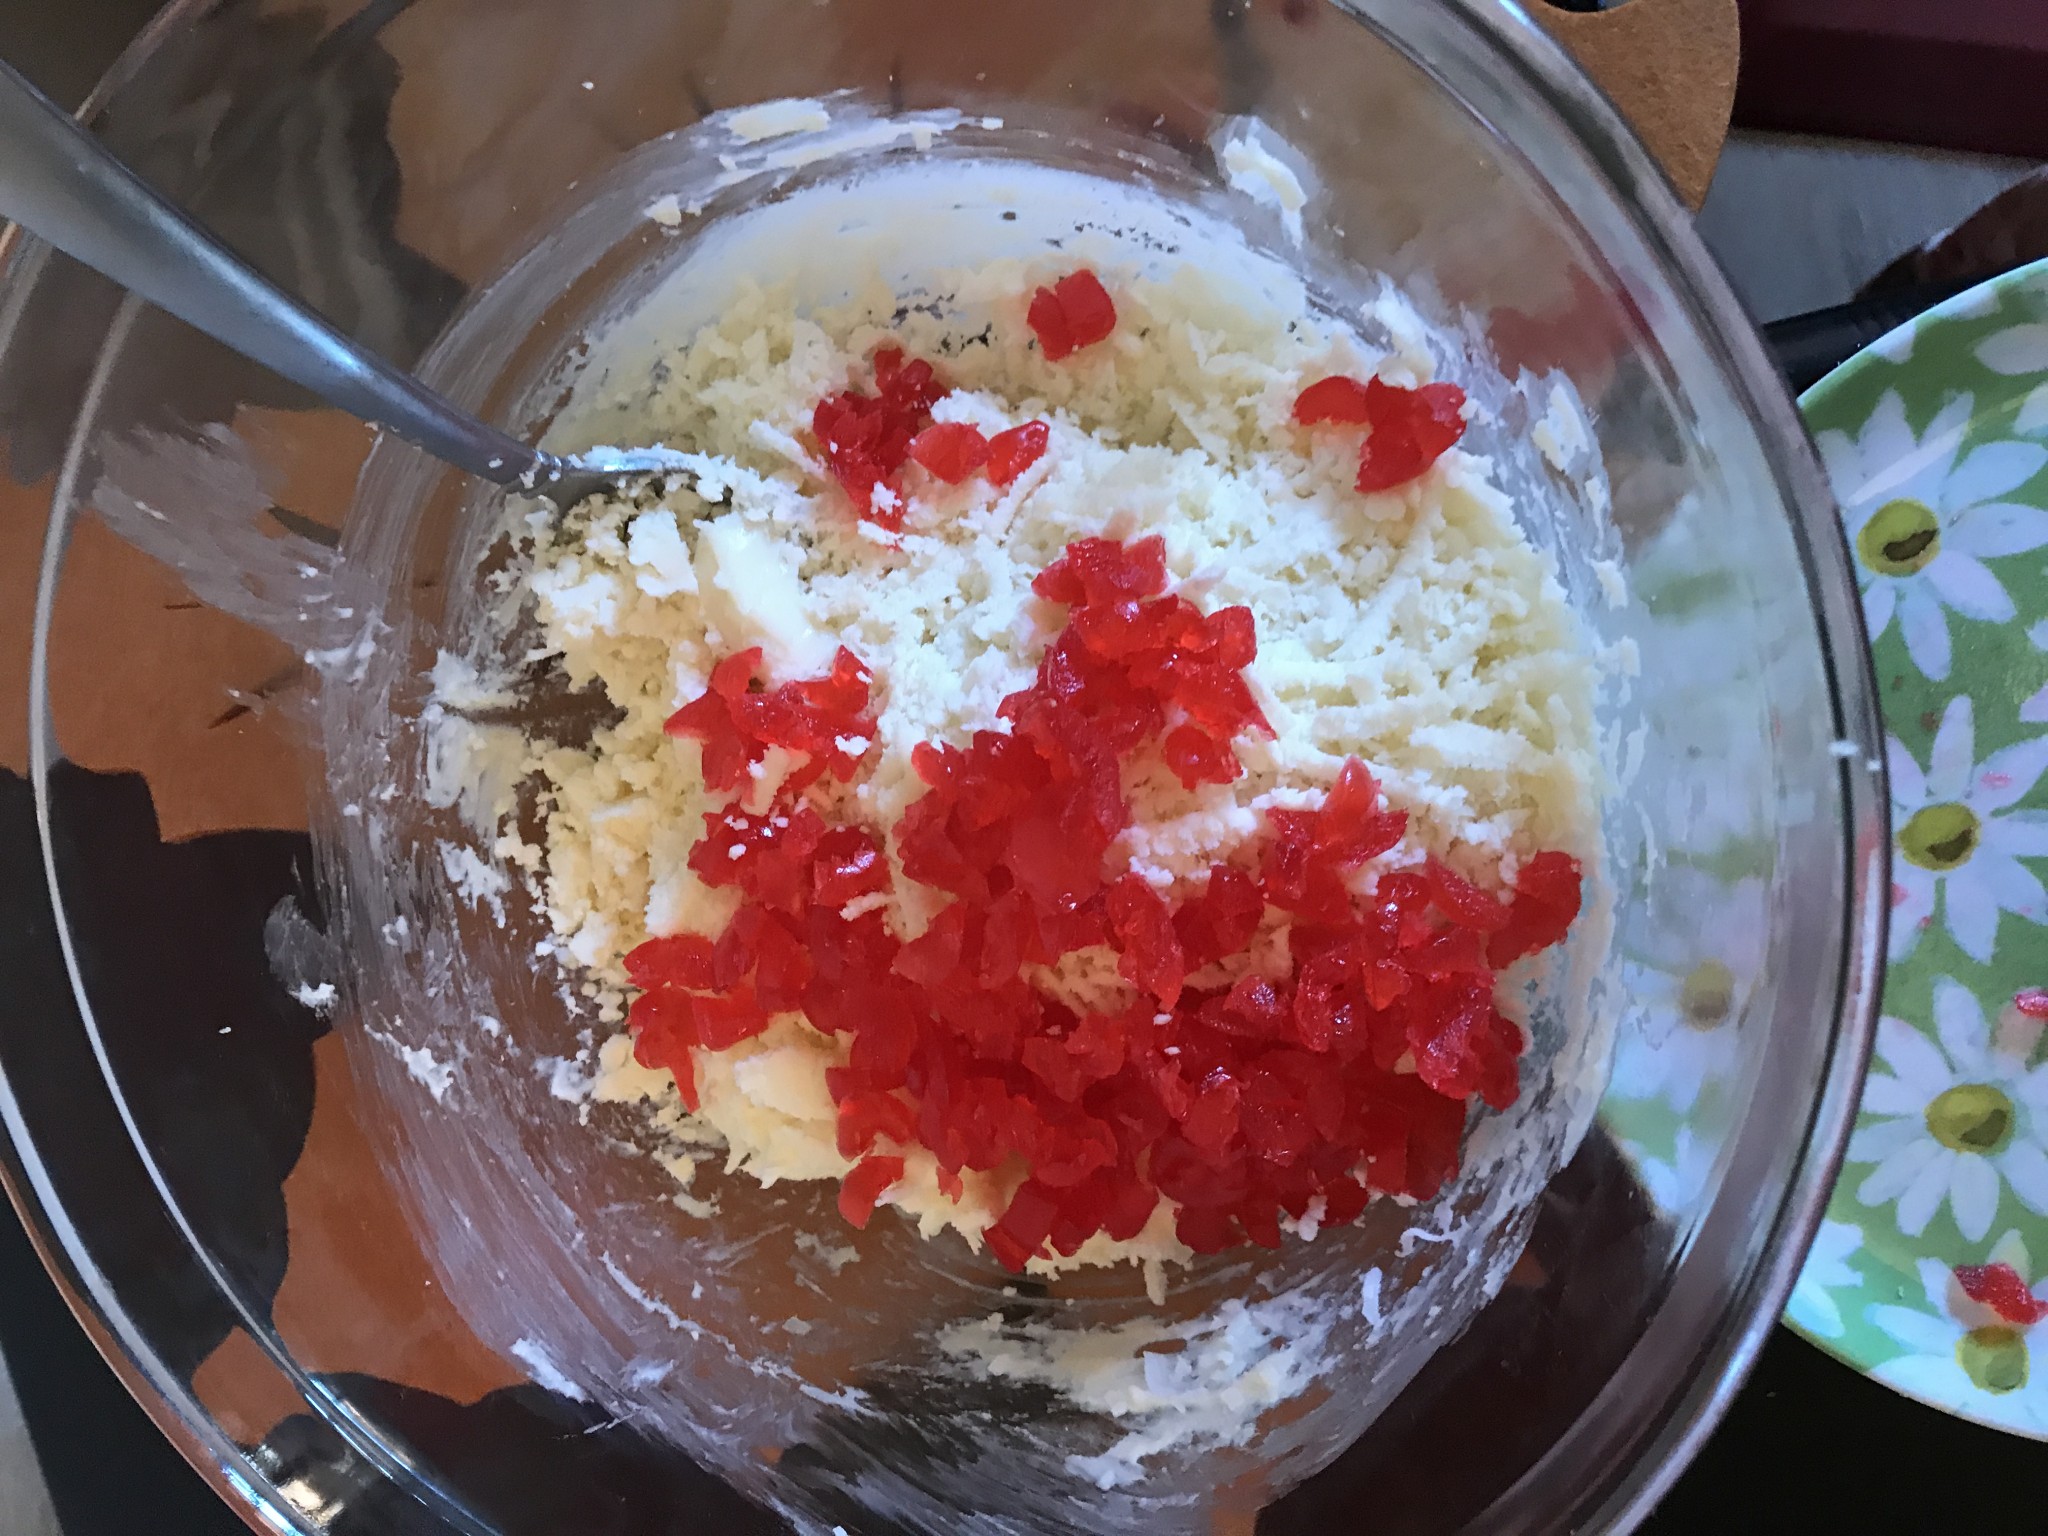
Add the cherries to the other ingredients in the bowl.
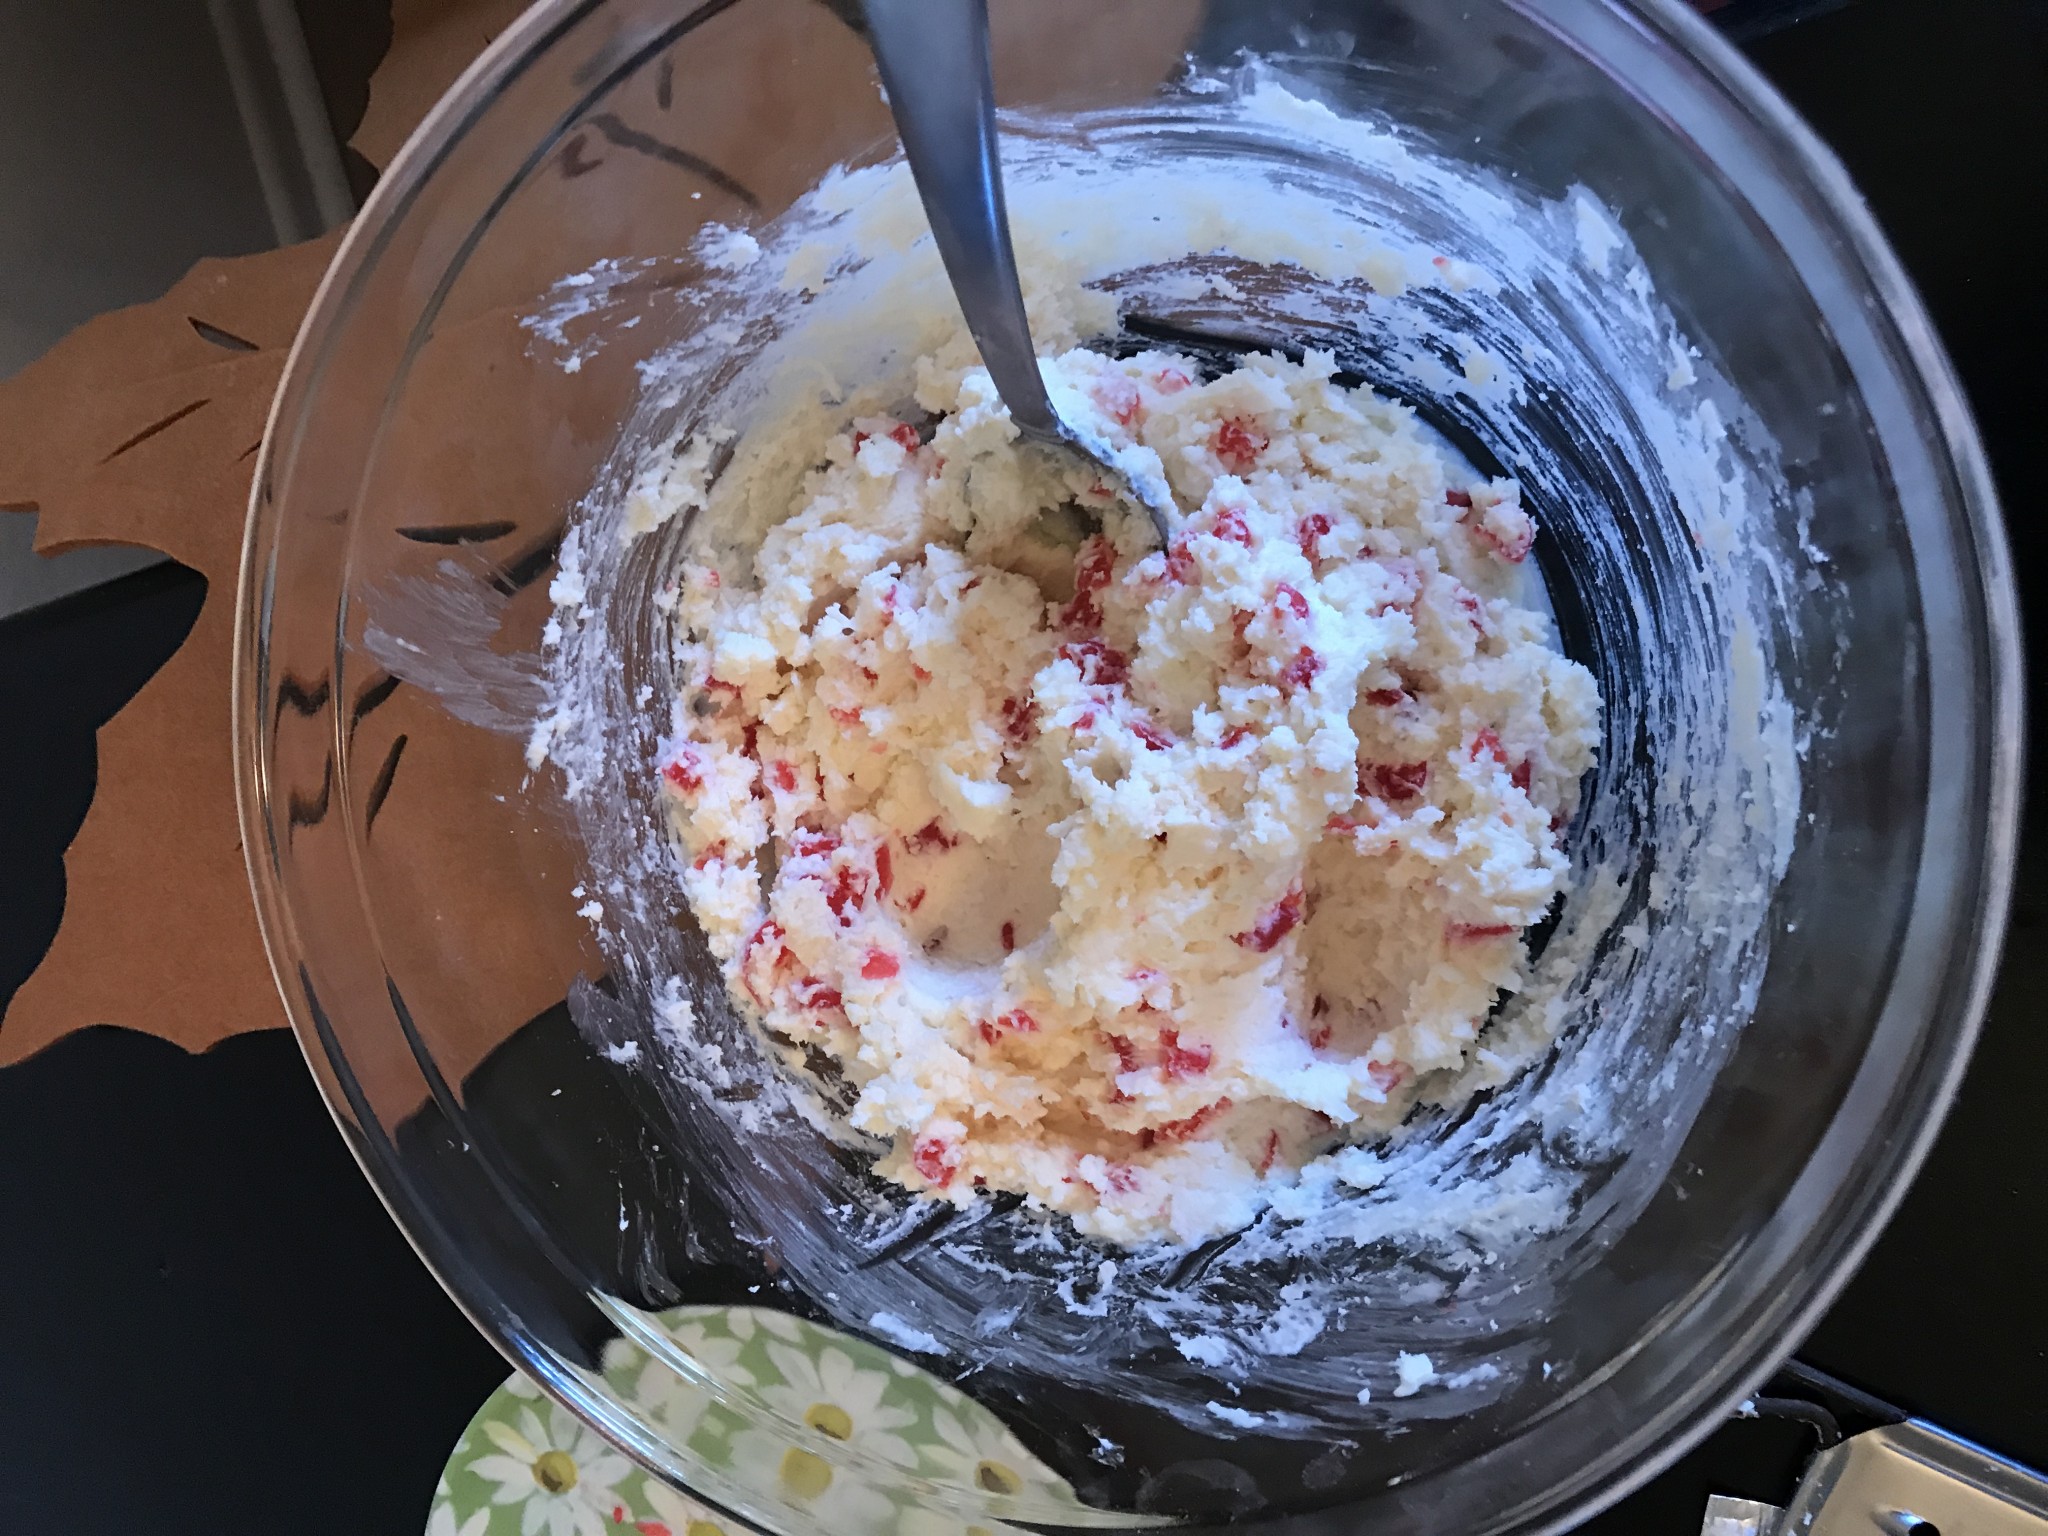
NOW you can mix all the drier ingredients together with the creamy base. I wanted to agitate the cherries as little as possible so as to prevent them from "bleeding" and turning the whole mixture pink. They actually bled very little. I put the mixture in the refrigerator - I'd say to leave it in there about an hour. I didn't do so, and it was still pretty sticky when I got it out to roll into little balls.
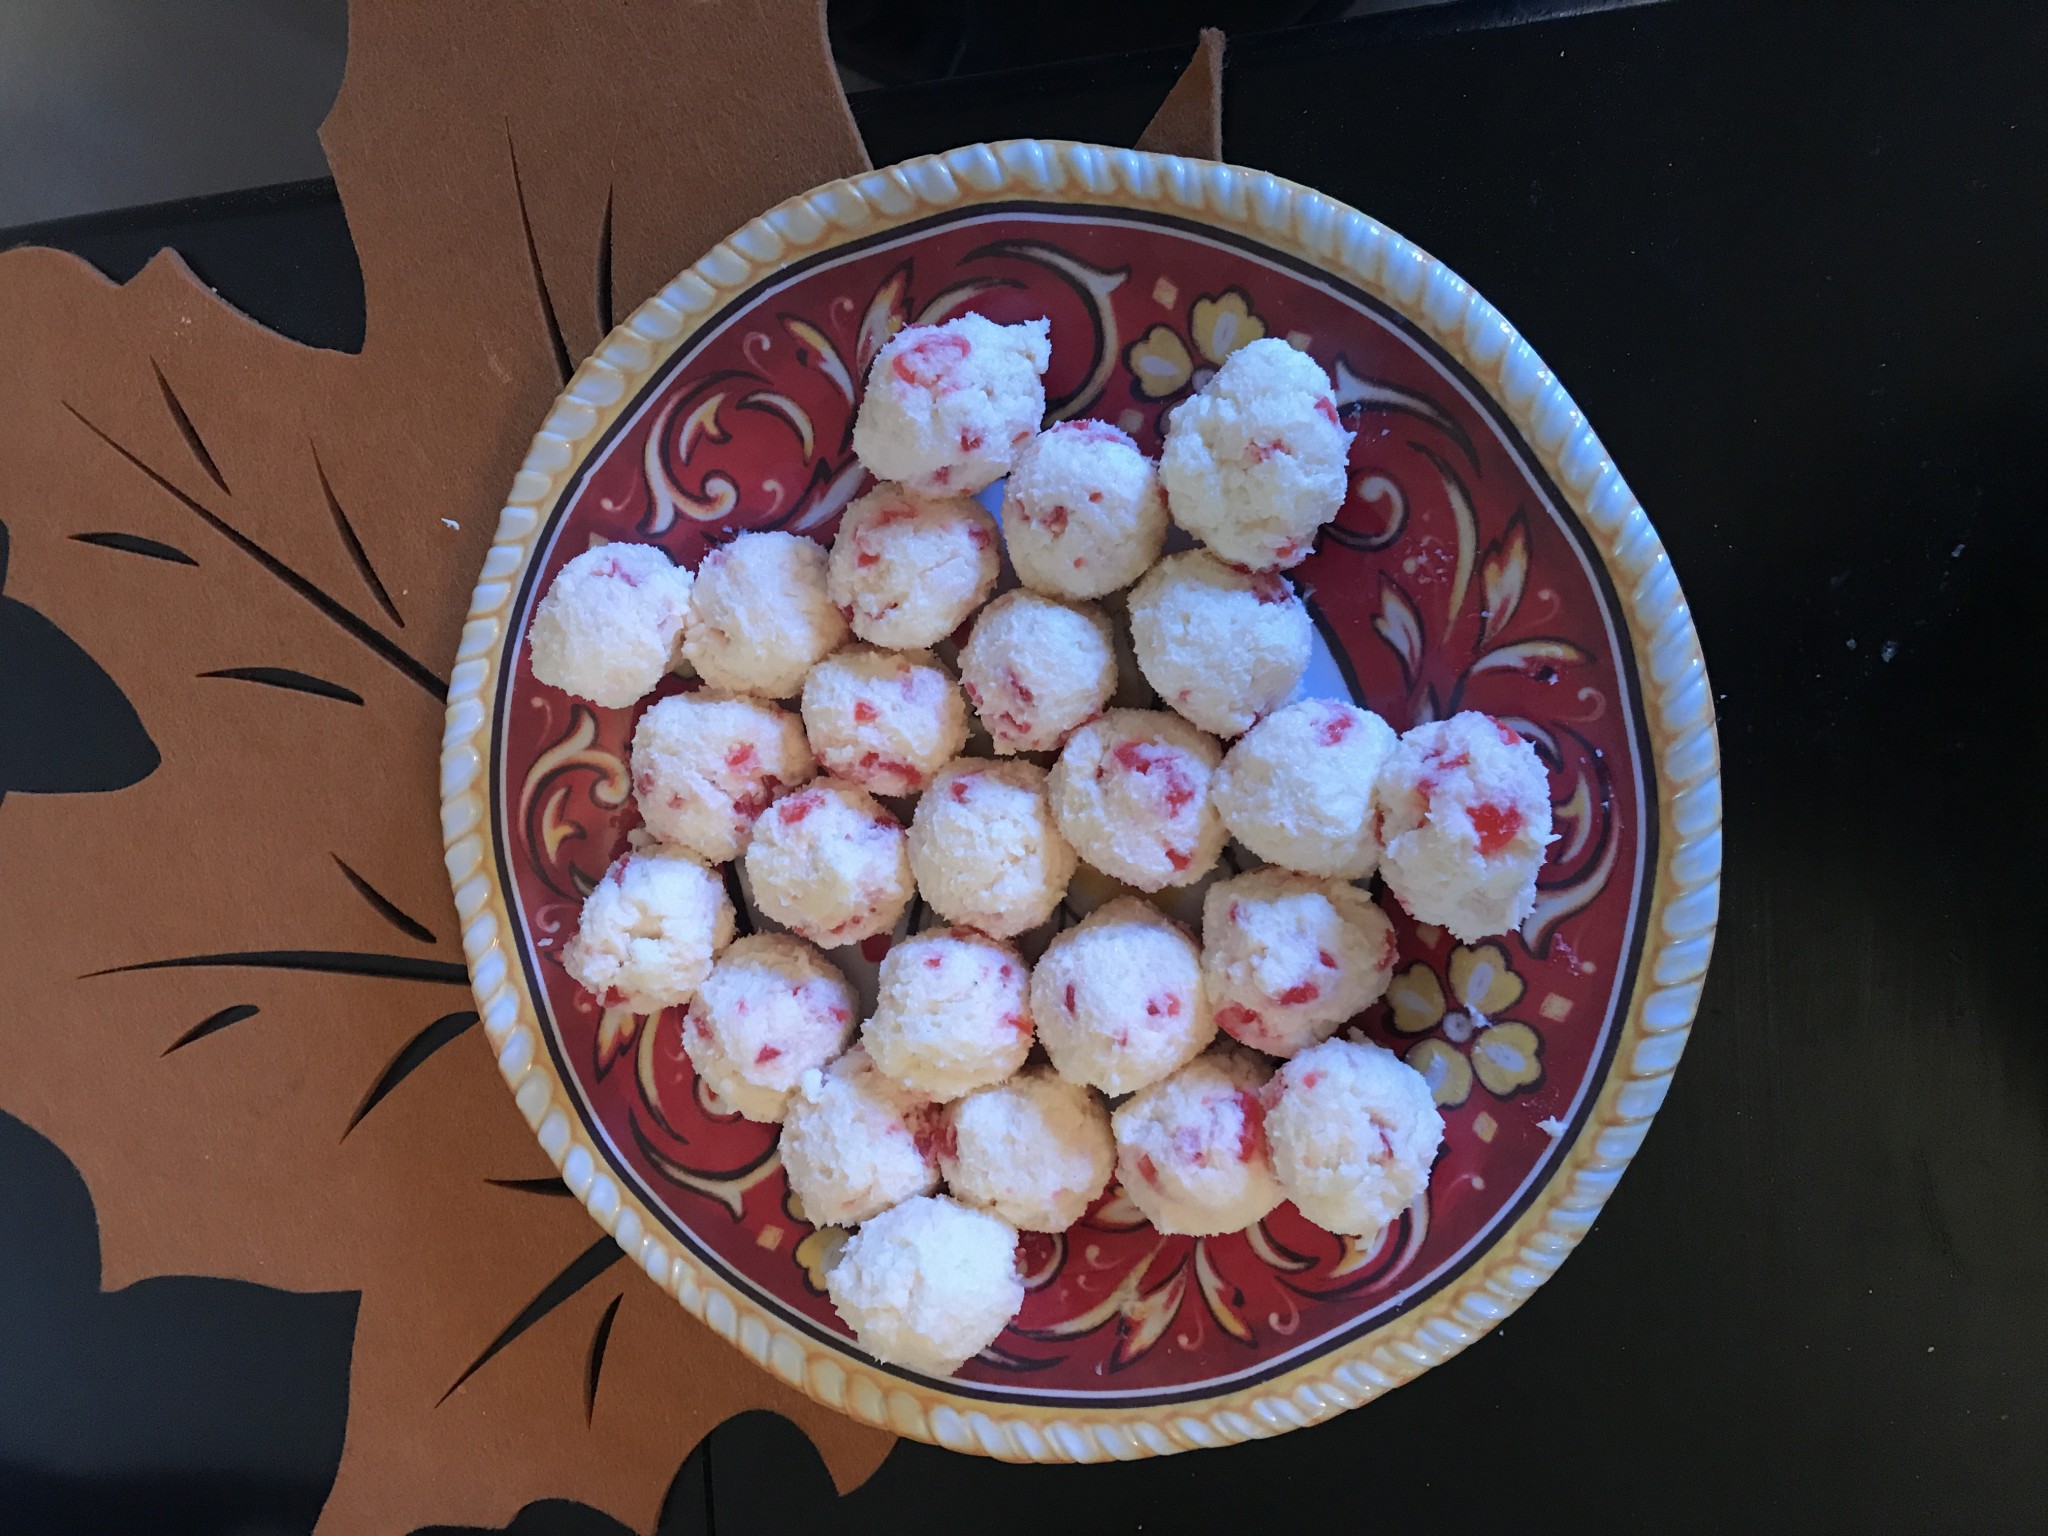
It looks like it made about 2 dozen little bite-size balls. They are sticky so back in the refrigerator they went for another CHILLING experience! While they are chilling I chopped the macadamia nuts in my little bullet blender.
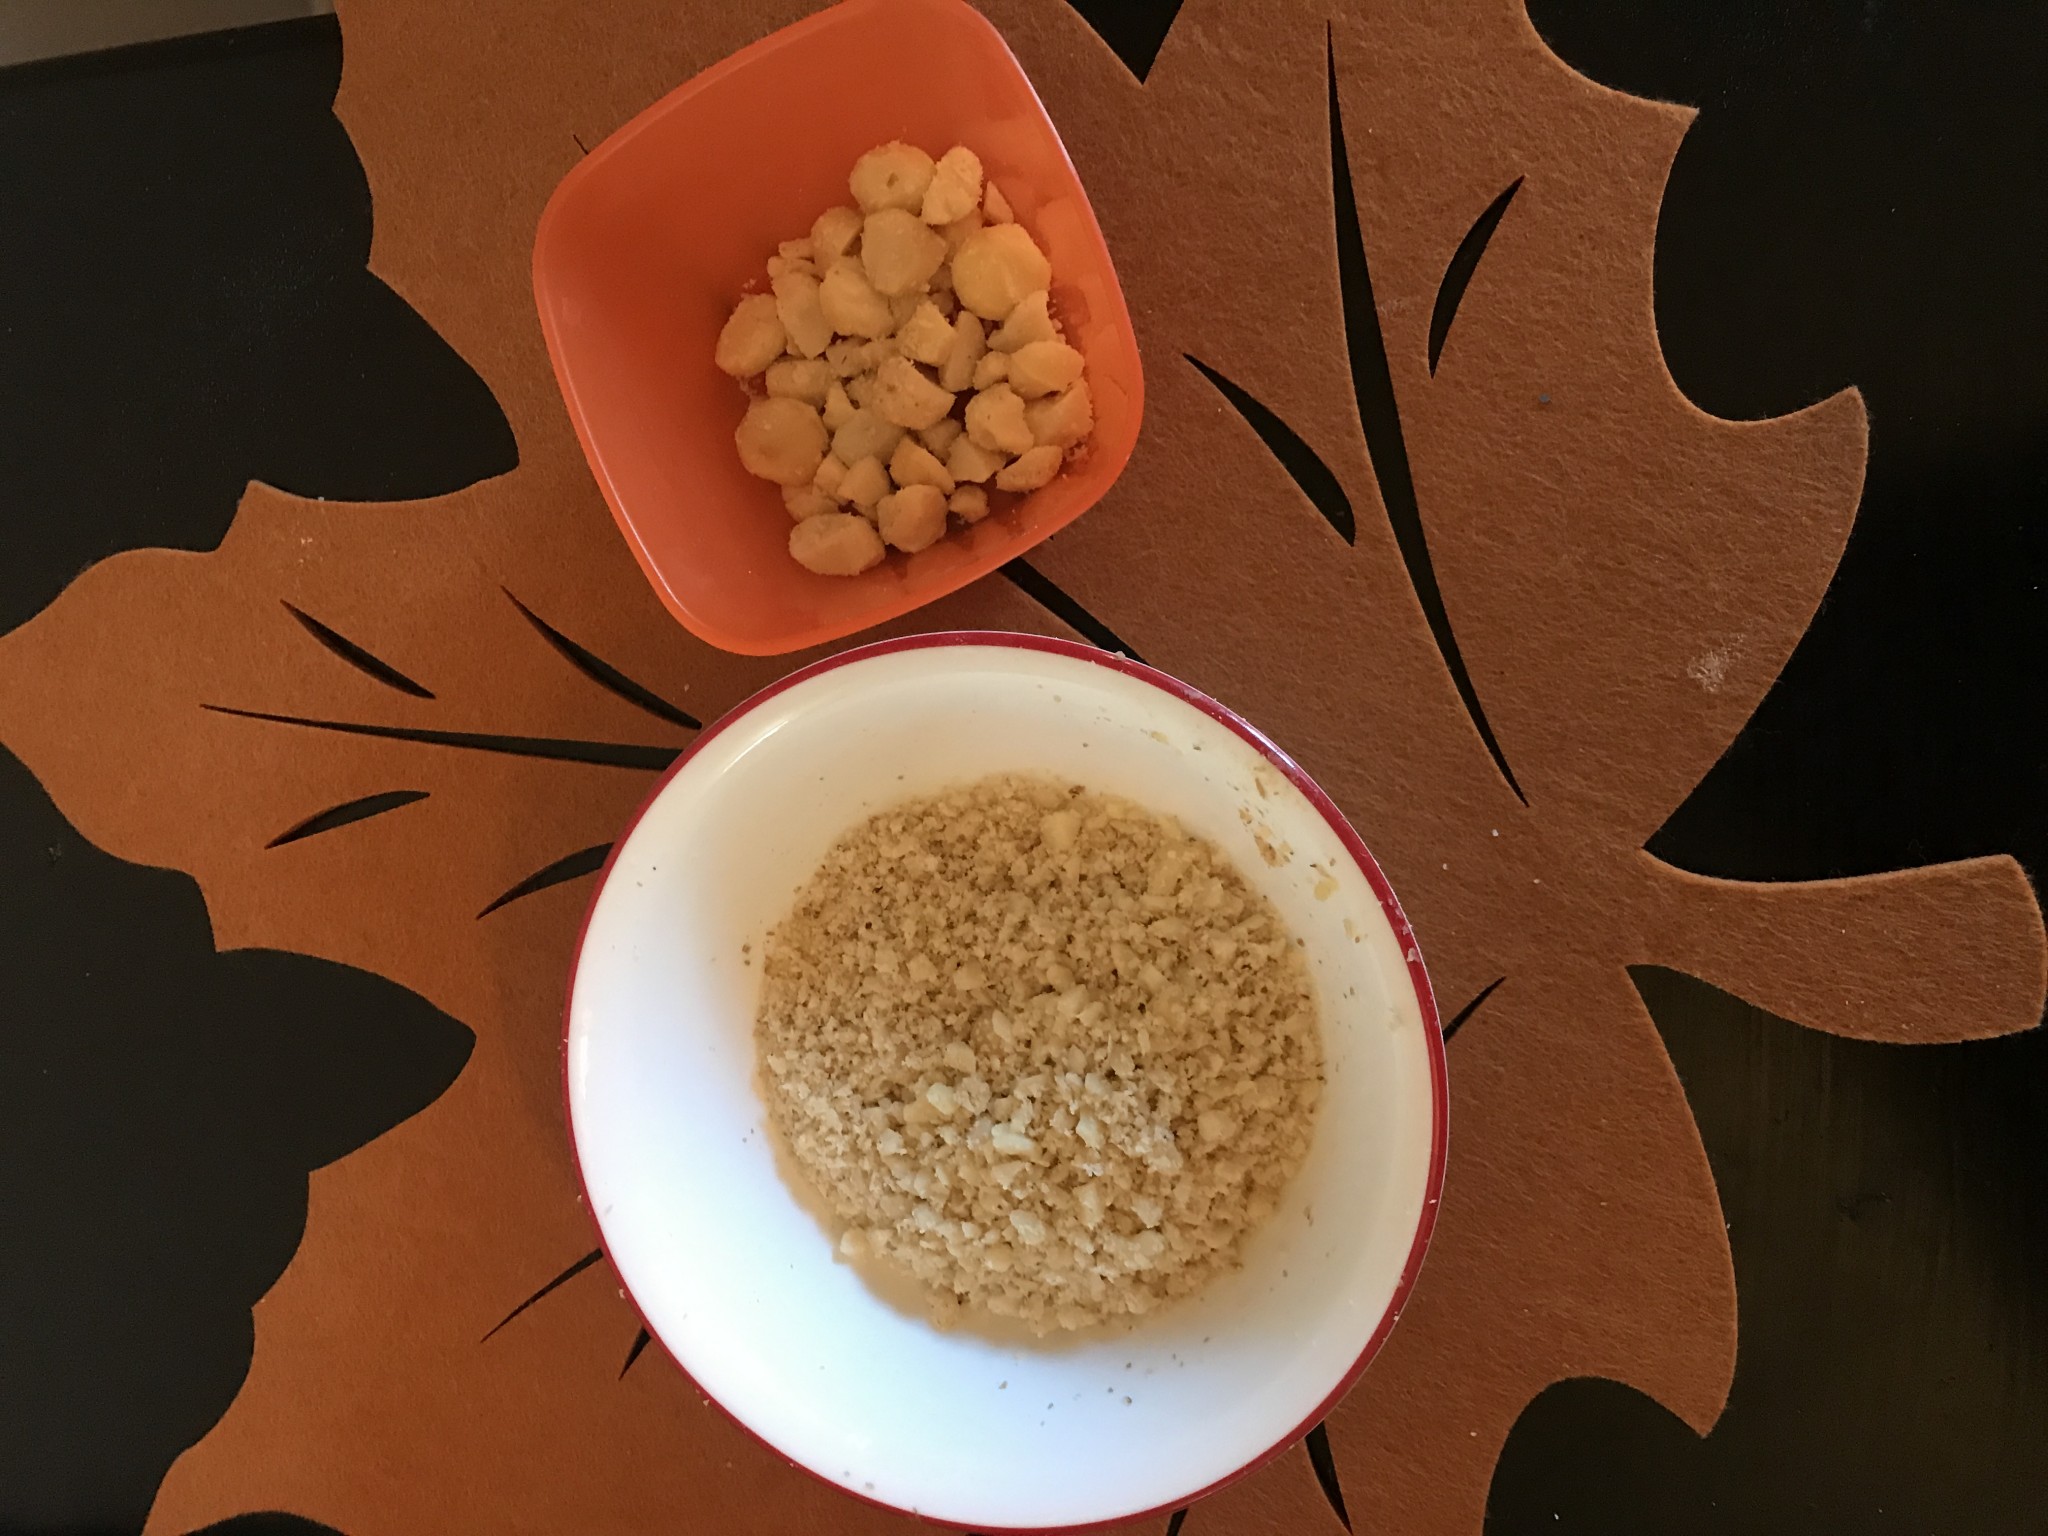
I plan to sprinkle these on top after I dip the balls in melted white chocolate, or I'll roll some of the balls in the nuts first and THEN drizzle the white chocolate on top. We'll see how THAT goes. These macadamia nuts looked really nice in the bulk section at Basha's Market - not yellowed like I sometimes see, but they were $21.xx/pound! So I only got about 1/5 of a pound!
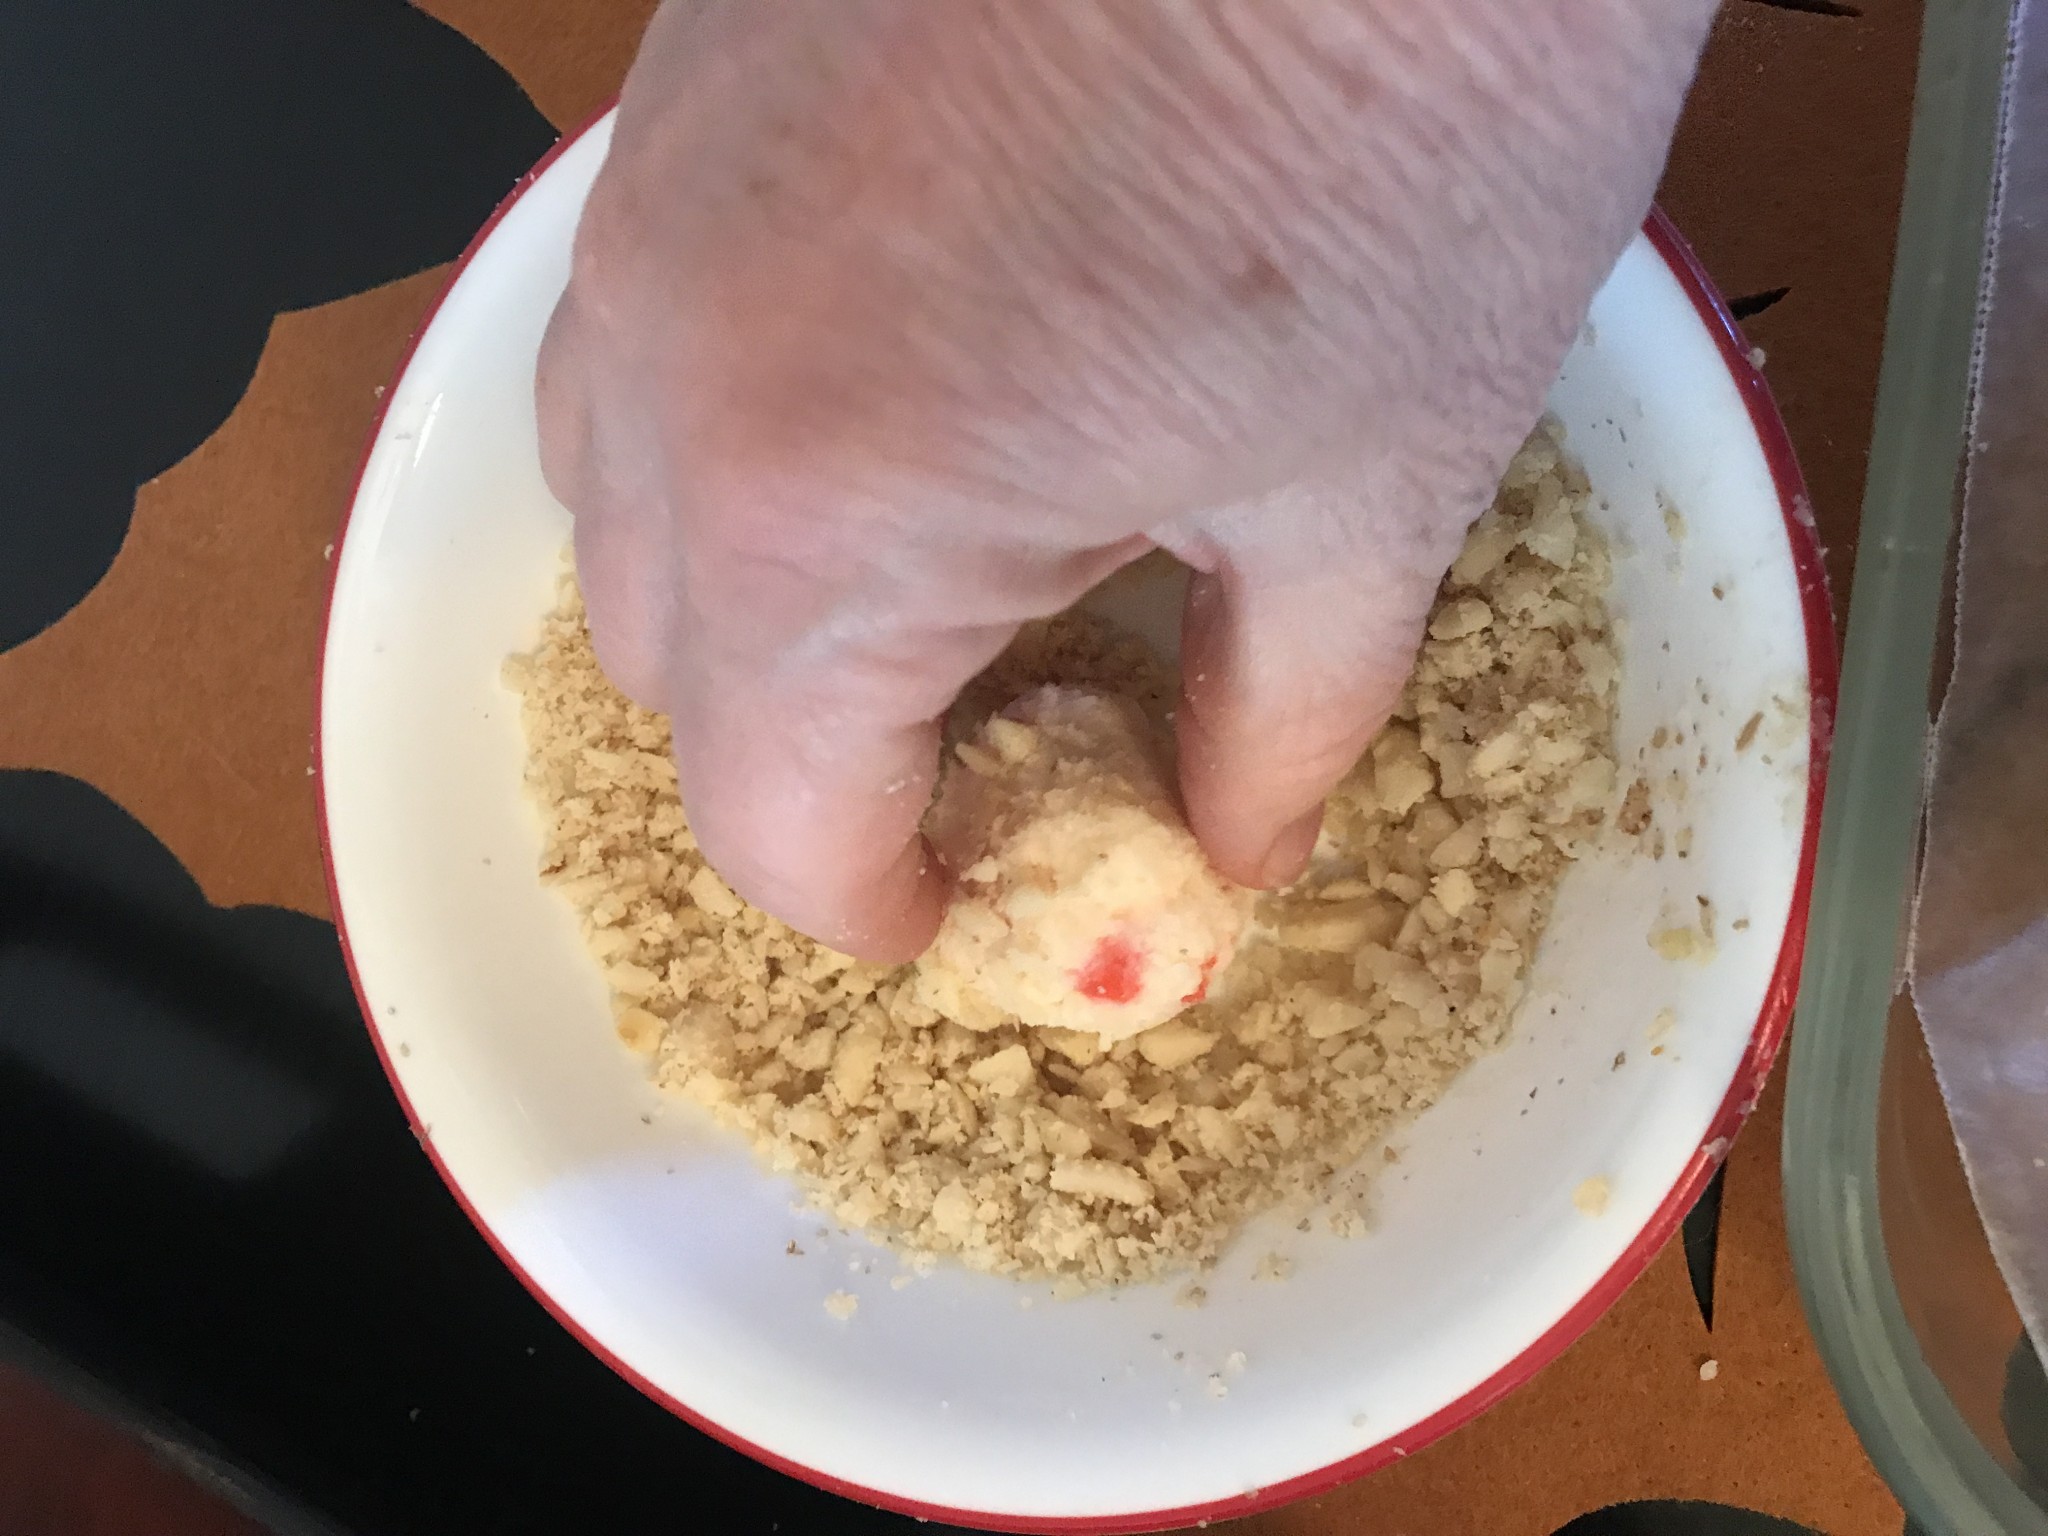
After the chill, I got a pan ready lined with wax paper and started rolling my balls in the chopped macadamia nuts
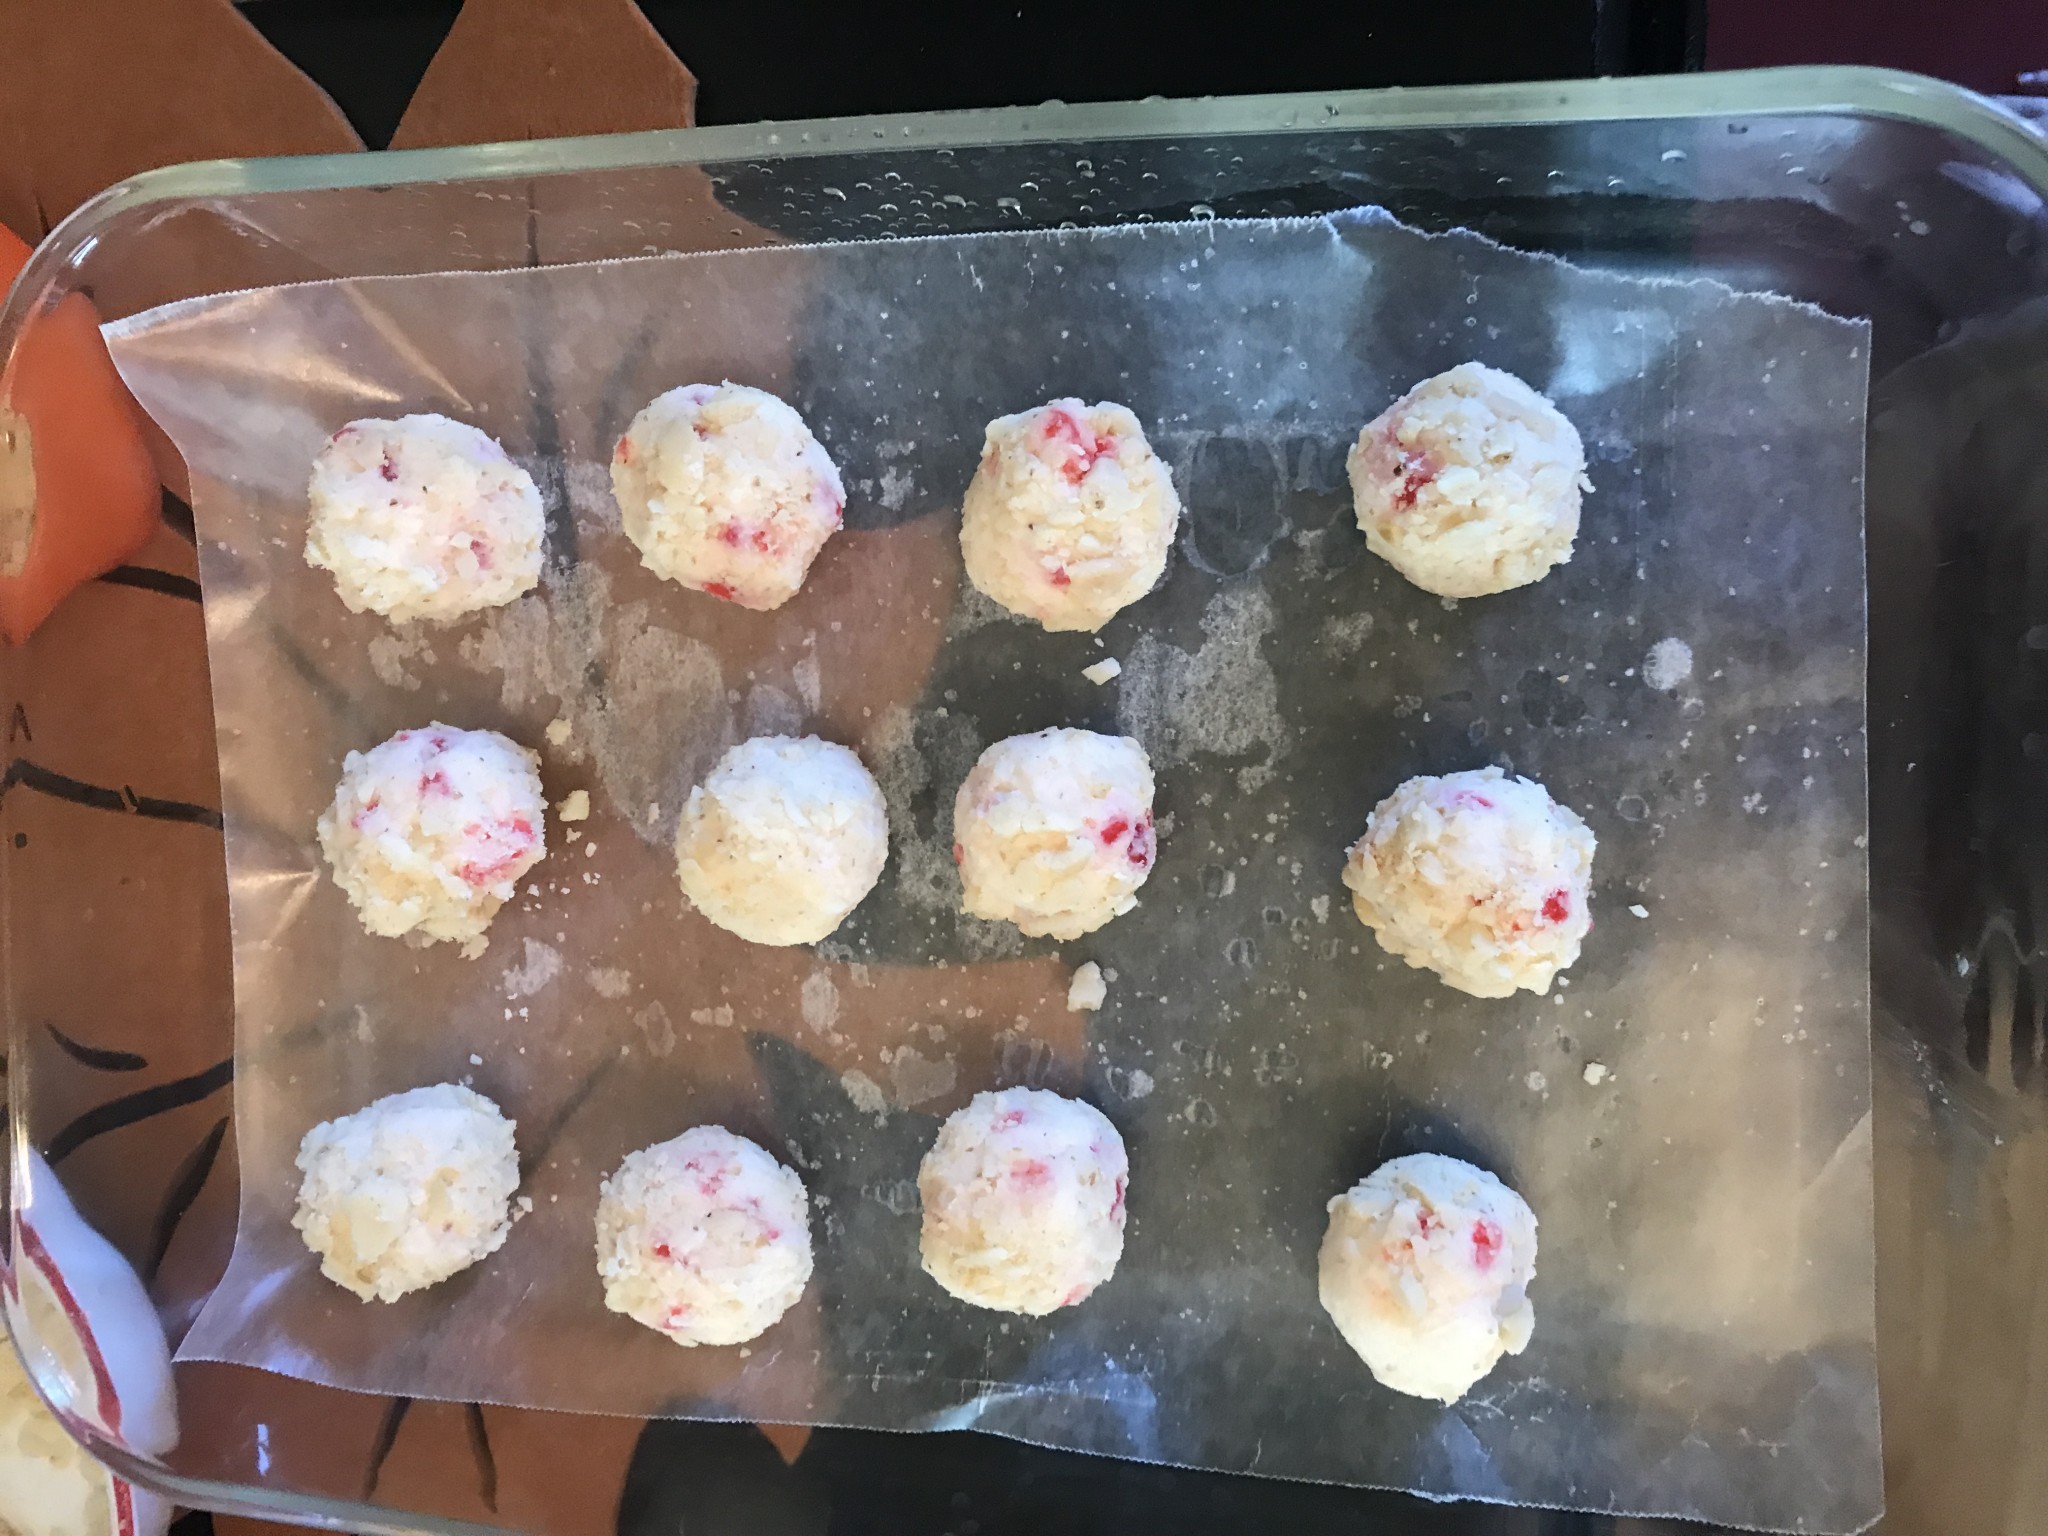
All these balls have been rolled in the nuts
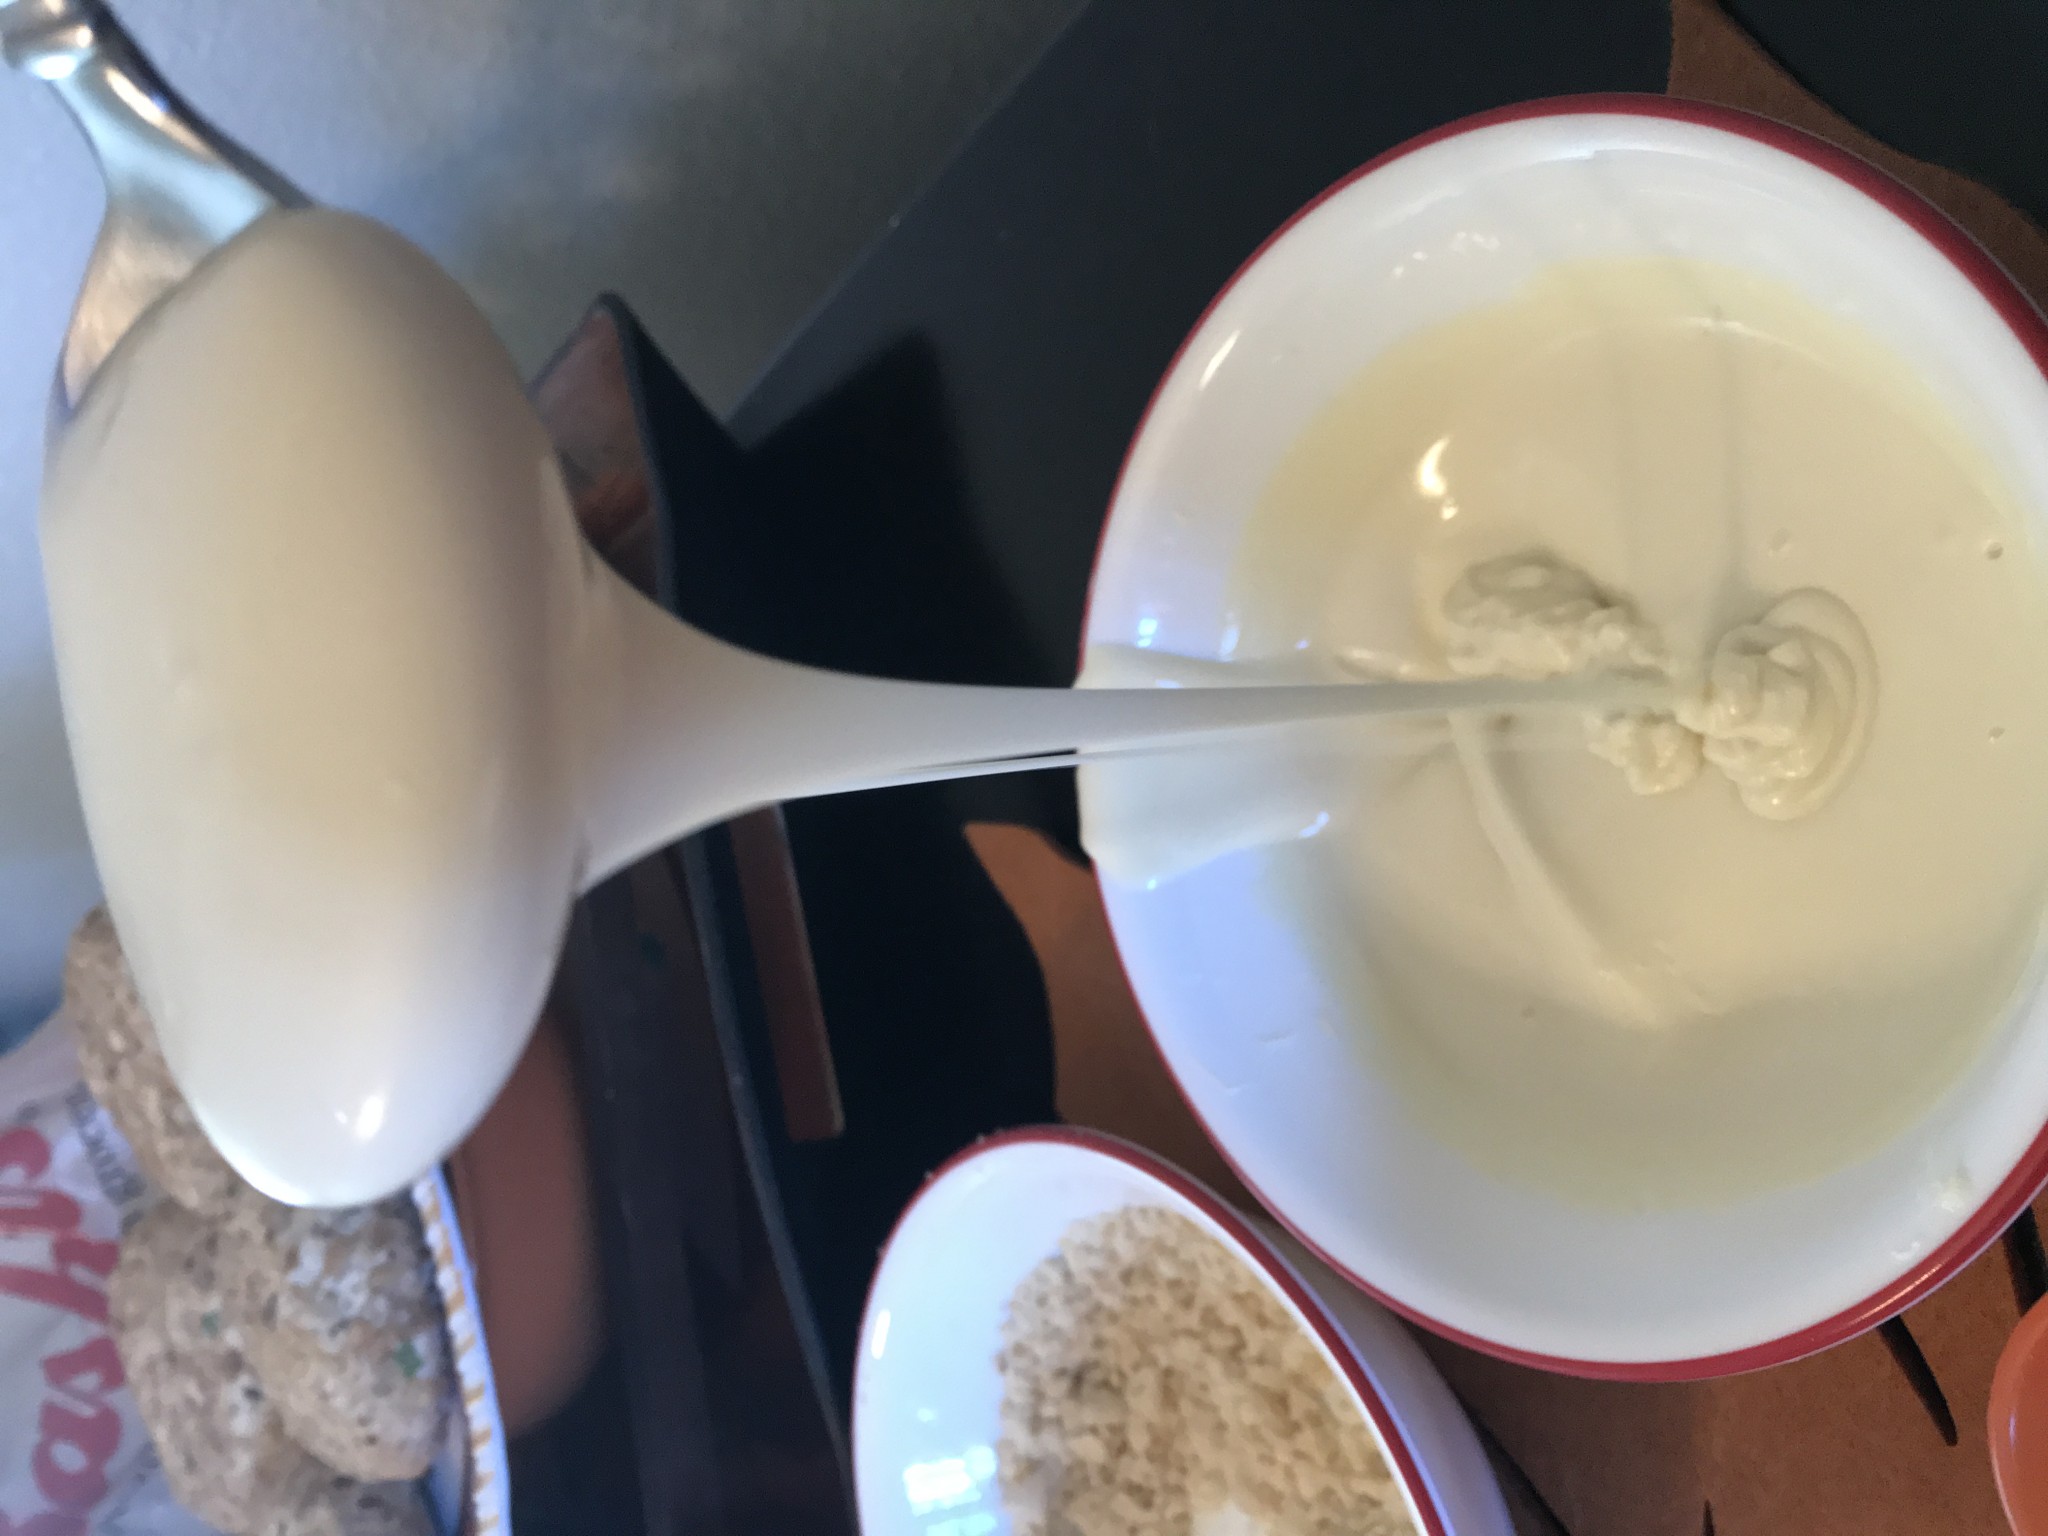
Sorry - why these loaded side ways I can't figure out and don't know how to rotate them in this editor. I melted the chocolate a little over a minute to this consistency.
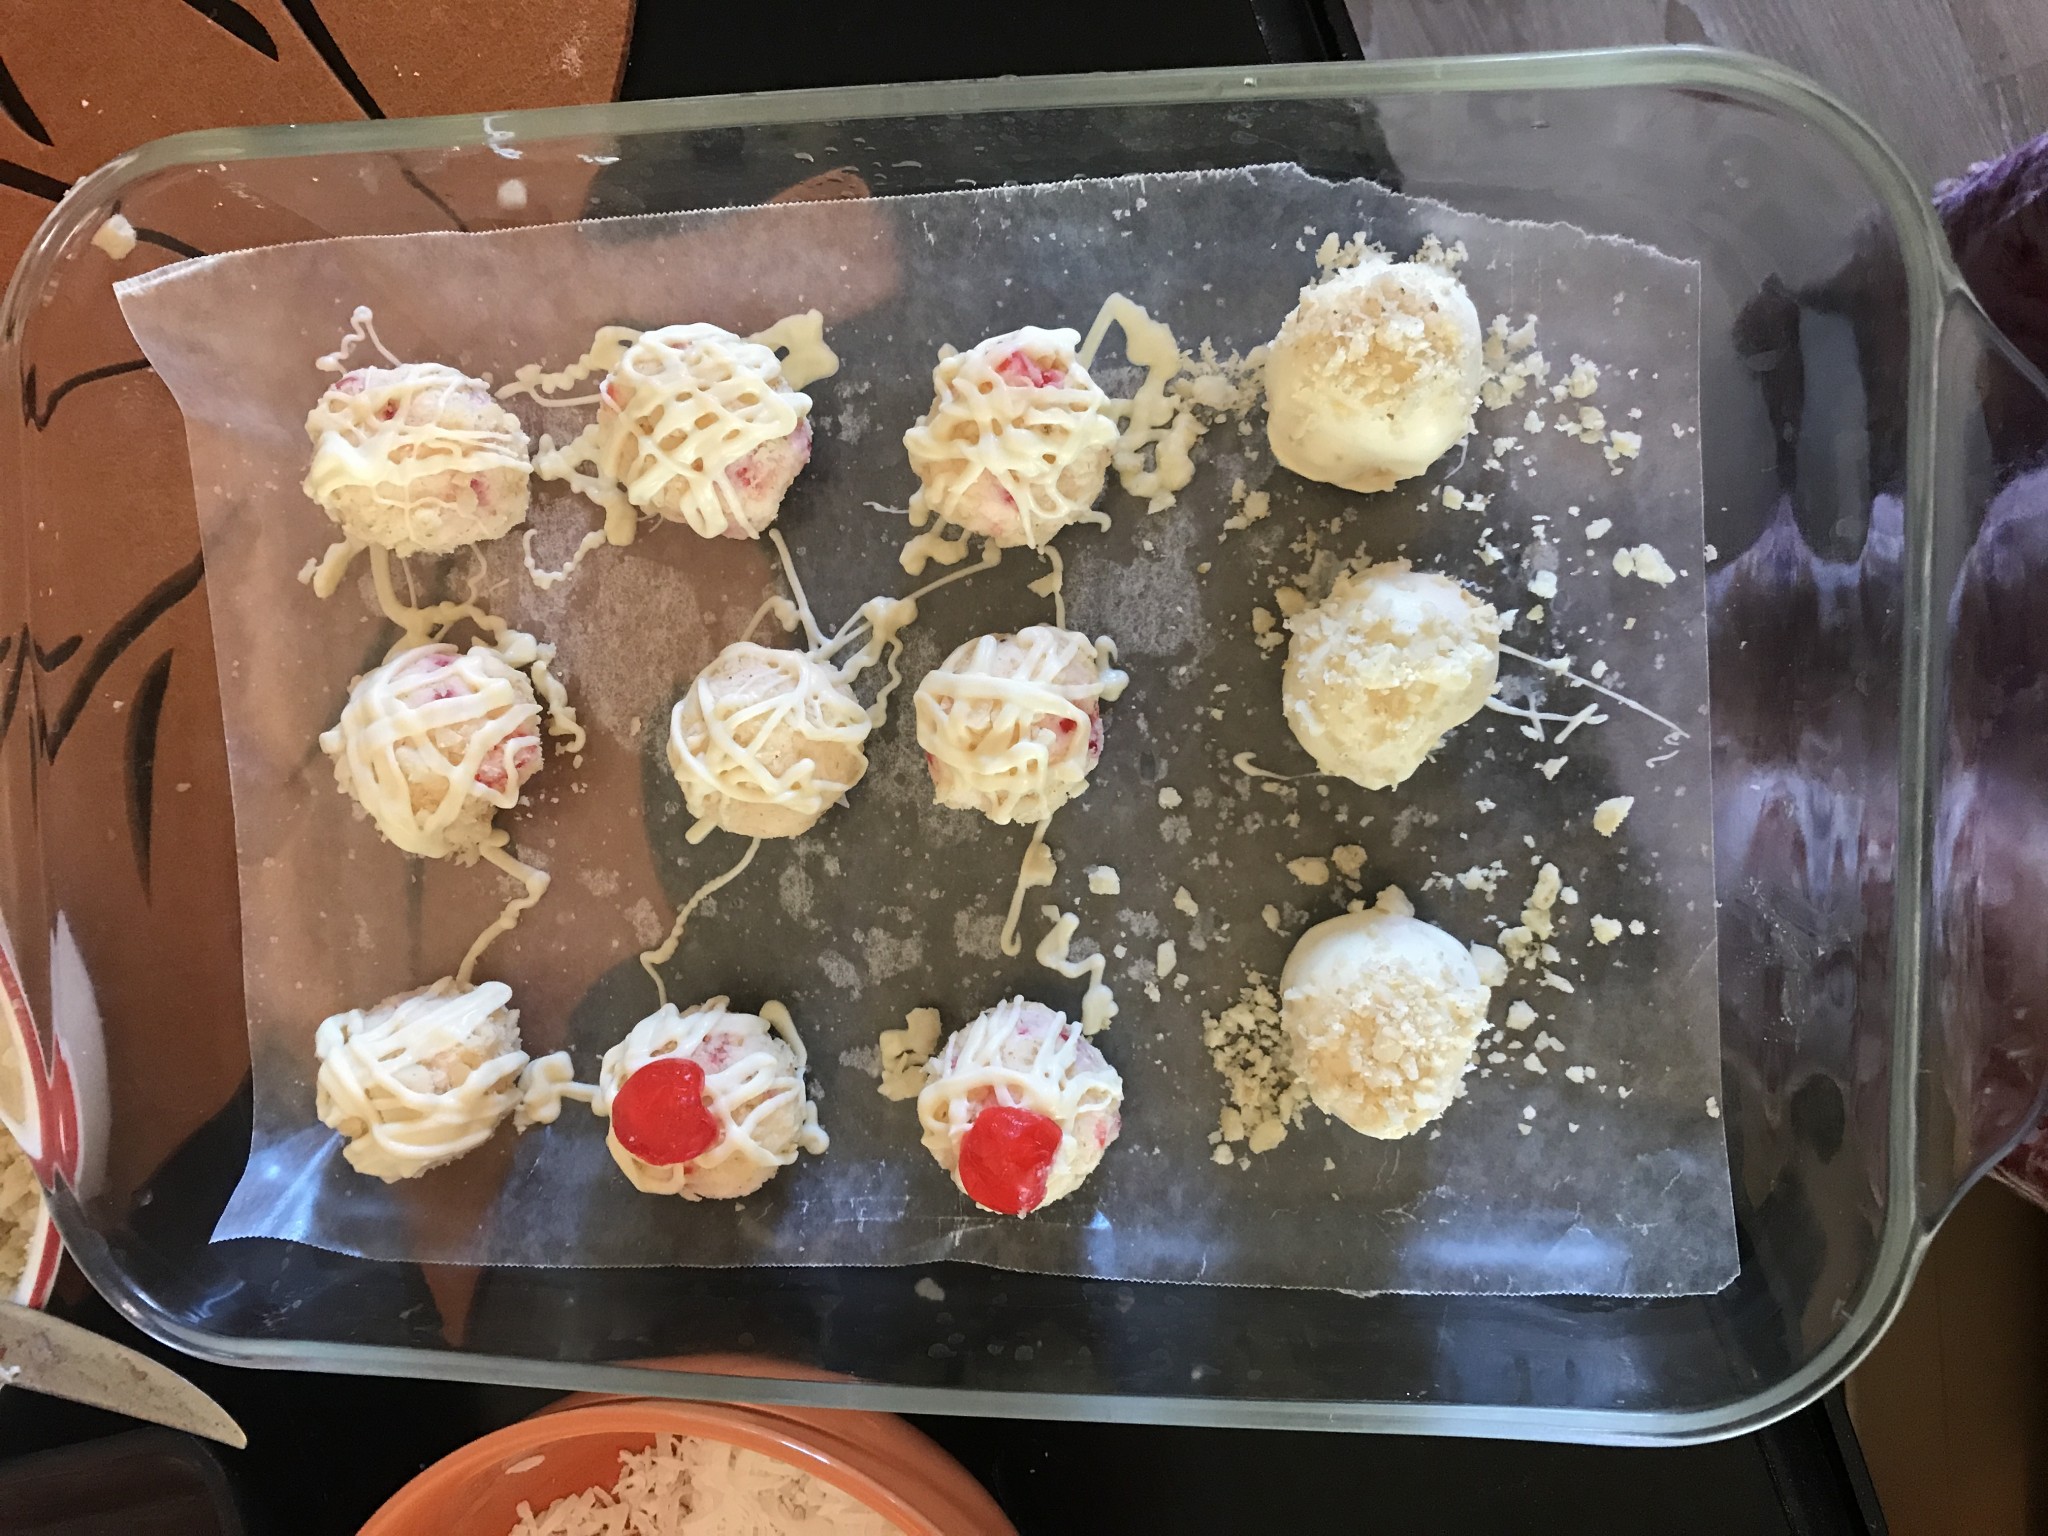
Here are a variety of ways I finished off the balls. Some were drizzled in the melted chocolate, some I added a half a cherry to the top, and the ones on the far right I didn't roll in nuts, but dipped in the melted chocolate and then sprinkled the chopped nuts on top. I did a few other ways on a different plate, including dipped in chocolate and coconut sprinkled on top, as shown below.
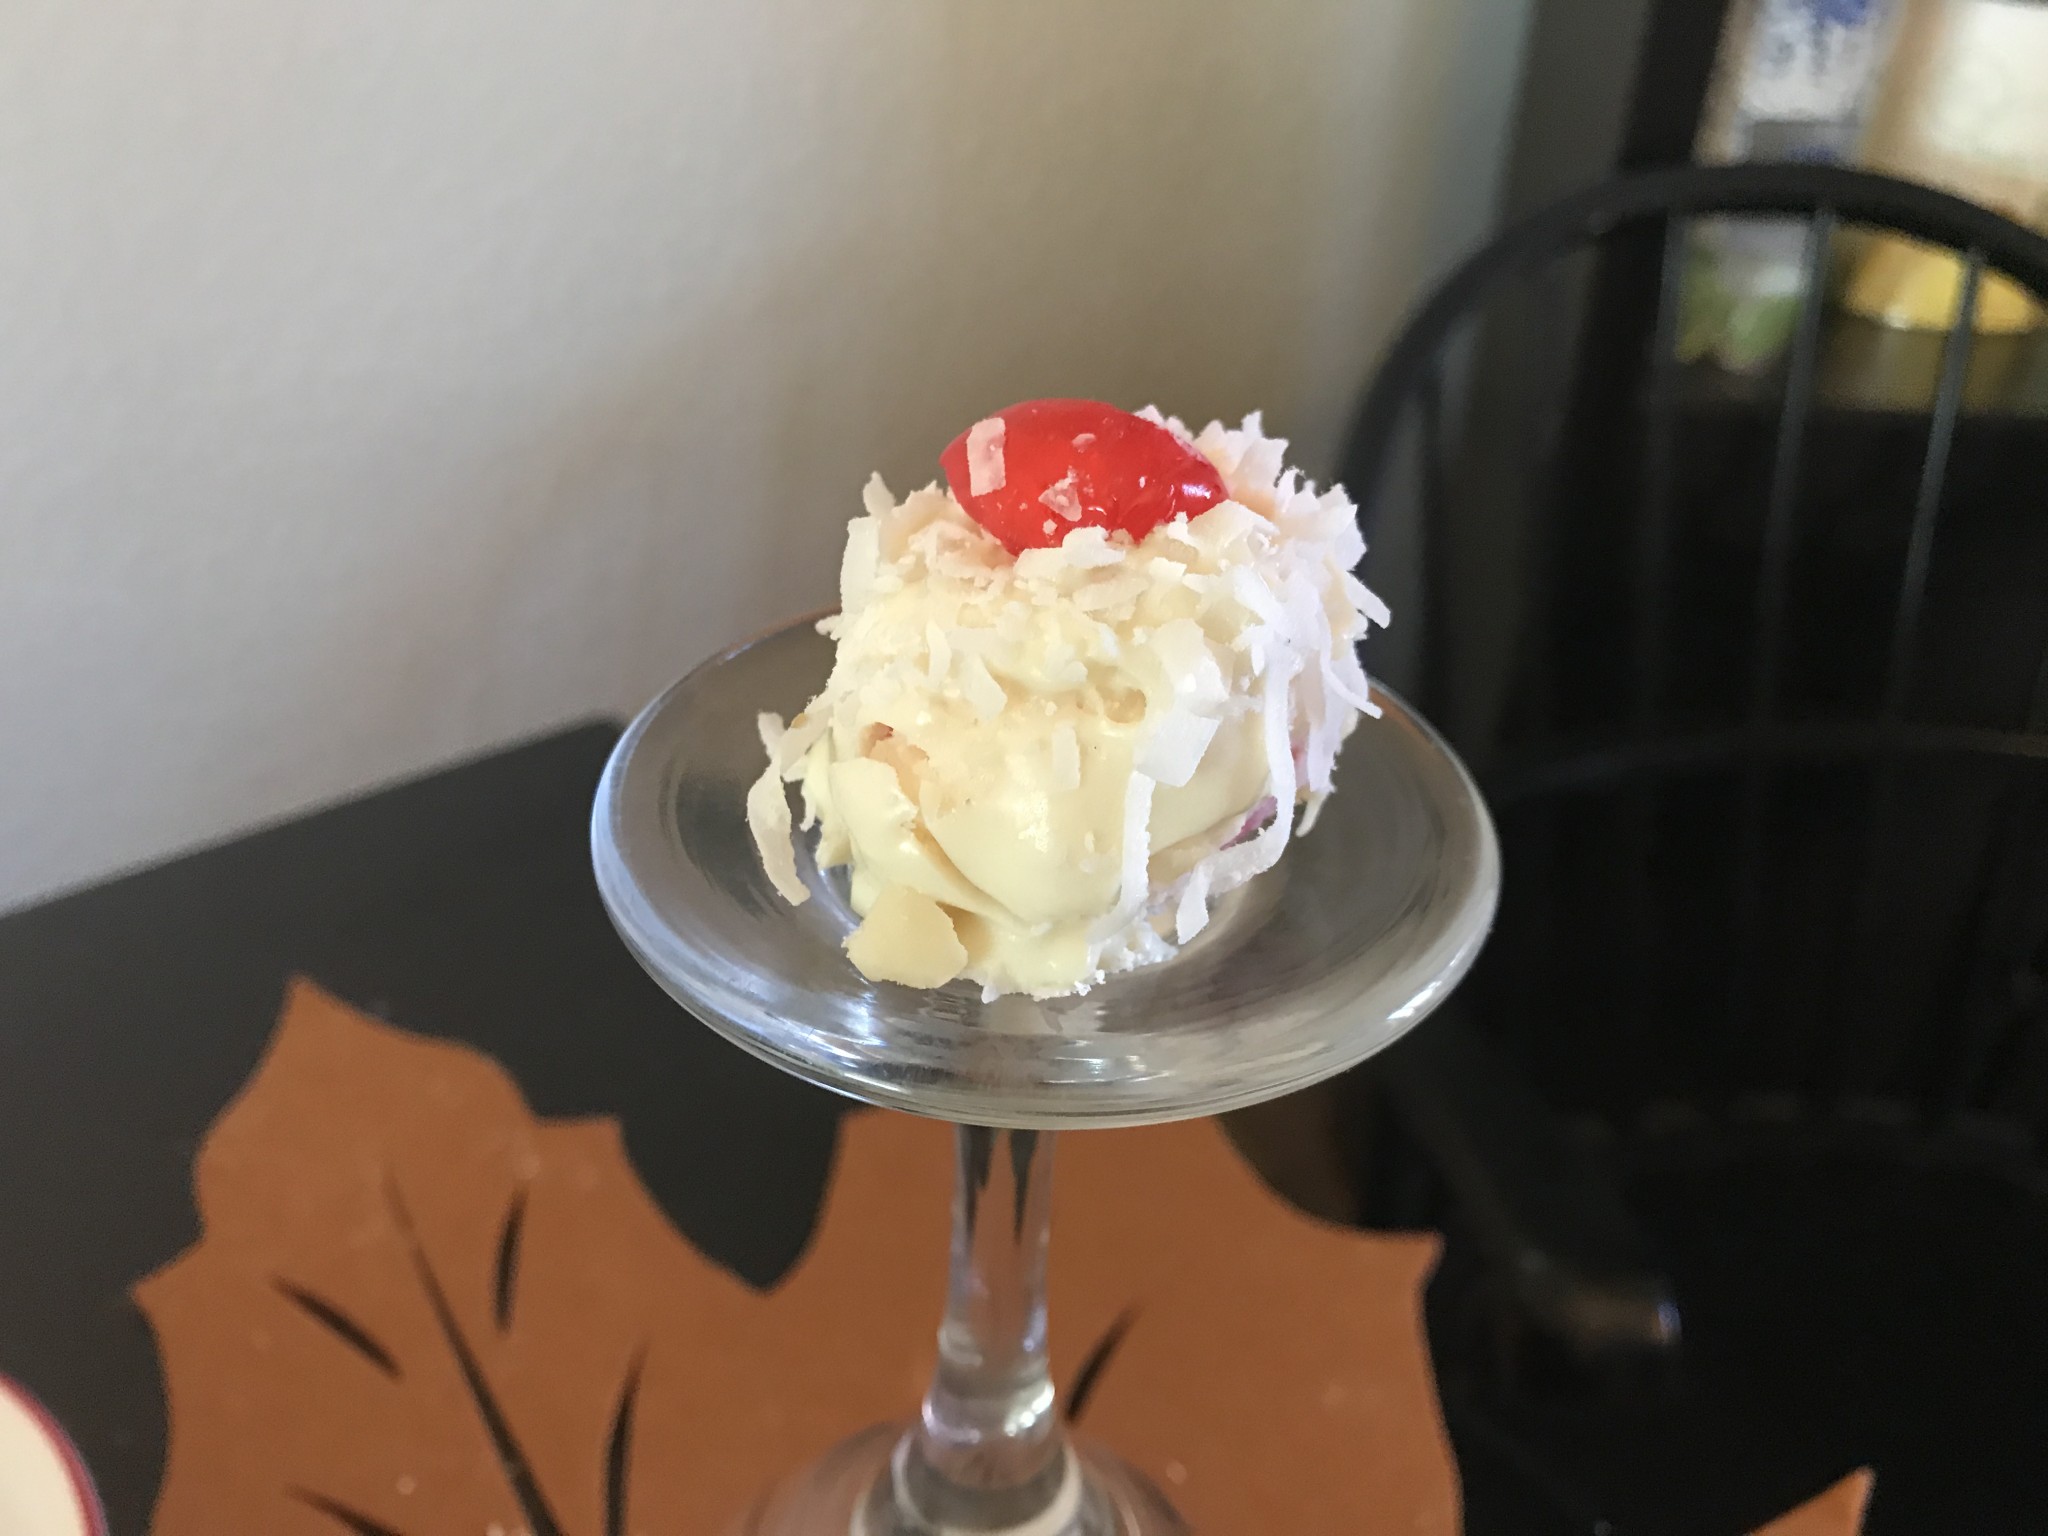
The one I was trying to get off the plate was stuck bad with the hardened chocolate, so I smooshed it and, well, of course, it was now sub-par to take to dinner, so, well . . . er . . . I HAD to eat it!
Ingredients:
In a large mixing bowl, melt half the chocolate chips for about 1 minute in the microwave, stirring halfway through and then at the end stirring till smooth.
Add the softened cream cheese and almond extract, and with a large spoon, work it into the melted chocolate till well blended. This is your creamy base.
Add the grated cheese, coconut and chopped cherries to the cream base. Stir together with the spoon till blended, but do not over stir.
Place this mixture in the refrigerator for about an hour.
Line a cookie sheet with wax paper.
Chop your macadamia nuts and have them in a small bowl. I used a food processor with a few bursts.
Remove mixture from the refrigerator and form into 24 balls.
Roll some of the balls in the chopped nuts and place on the cookie sheet spaced evenly. Place the other balls on the cookie sheet as well.
Melt the other half of the chocolate in a small bowl for about 1 minute, testing for smoothness.
Drizzle chocolate over the balls with the nuts and top with half a cherry or a large piece of macadamia nut.
Dip the other balls one at a time in the melted chocolate and decorate with sprinkles of either chopped nuts or coconut flakes on top and press a cherry or large nut piece in the top.
You could put each one in a little candy paper liner and place on a pretty plate. I'd do it but don't know where mine are!